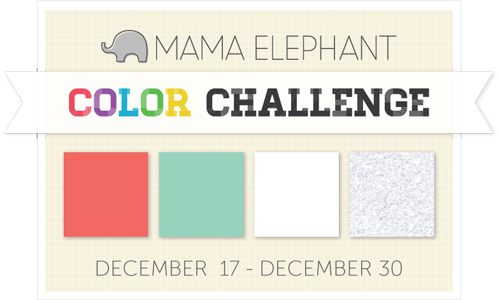
December 30, 2012

Mama Elephant Color Challenge 01


Dear Reader,

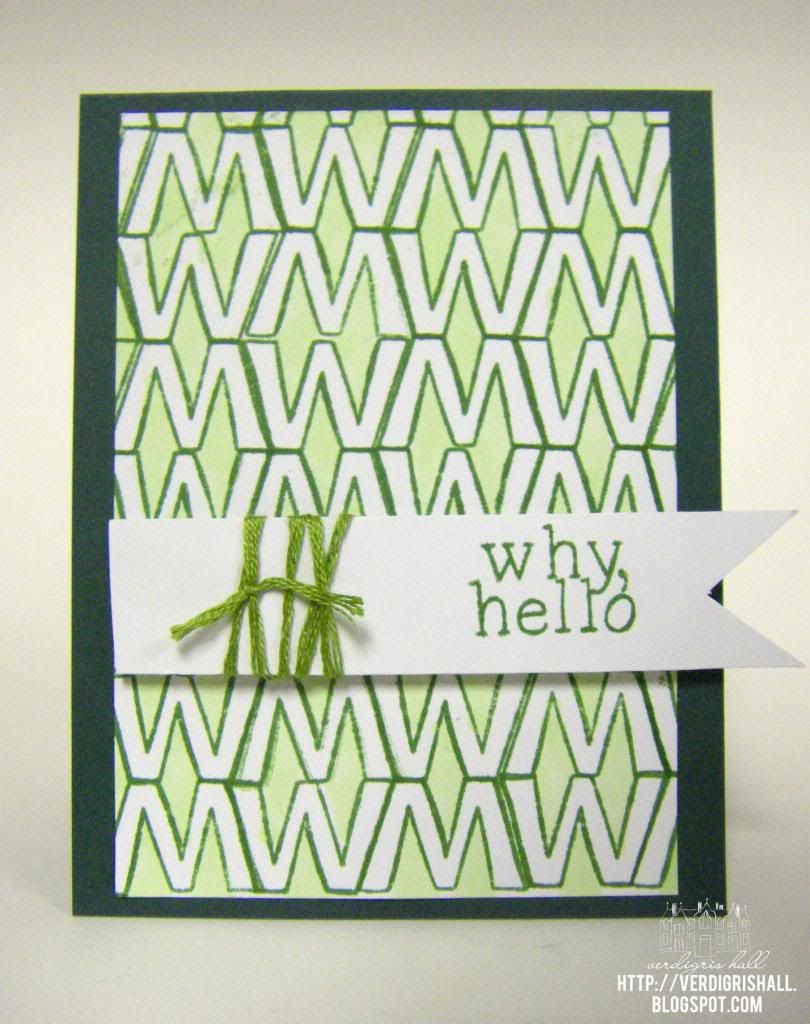
Mama Elephant is having their first color challenge...the blog post is HERE.  I had first discovered Mama Elephant about a month or so ago and was immediately smitten with their designs.  As I love the color scheme (in fact my rooms are in reds and aquas) and I *needed* to ink up some of their fun stamps I decided to try the challenge even though I had somehow forgotten about it until last night.


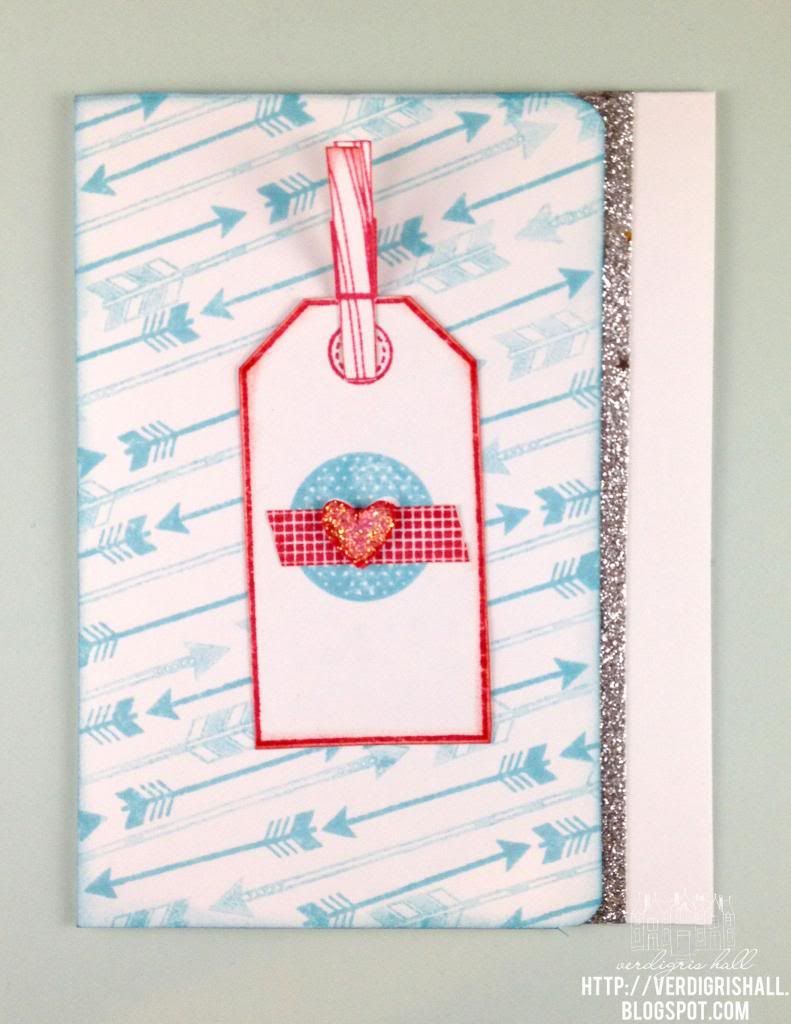
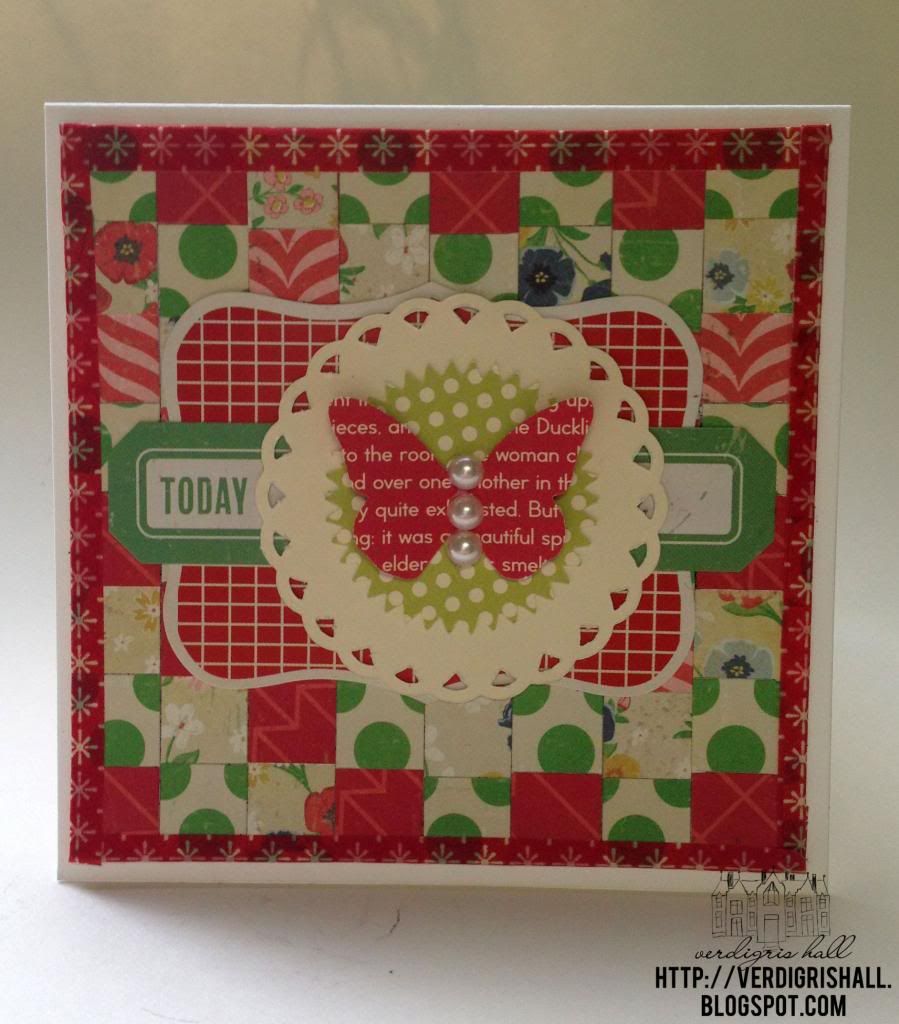
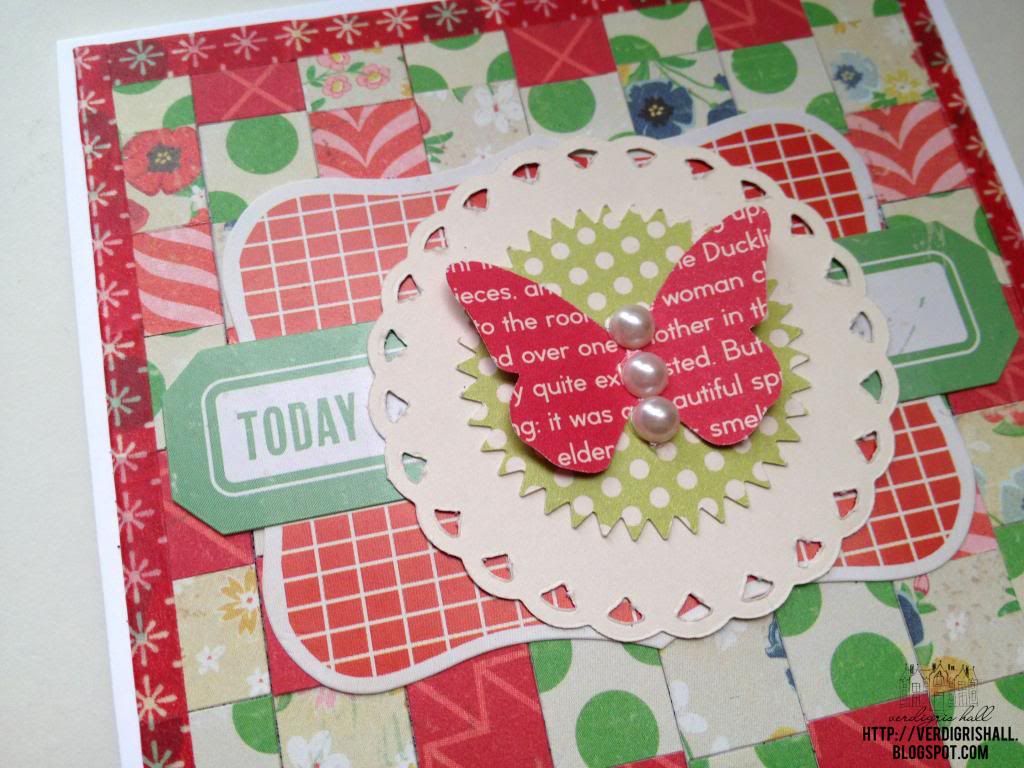
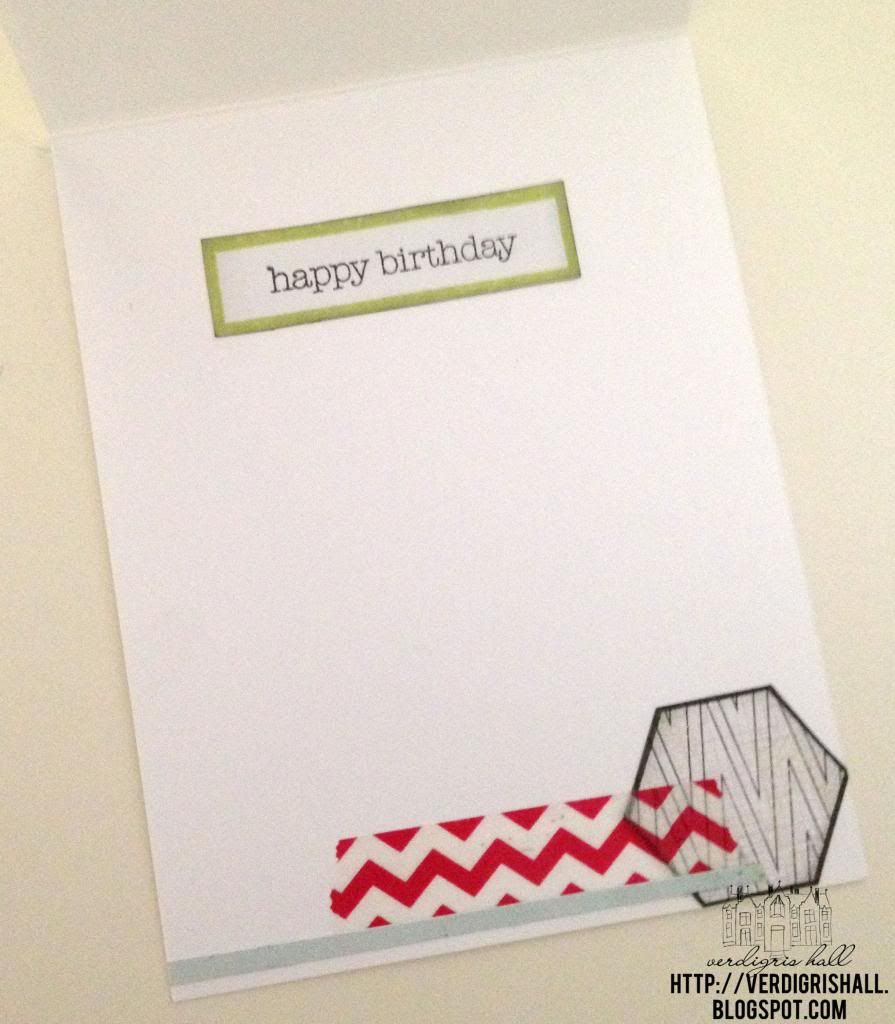
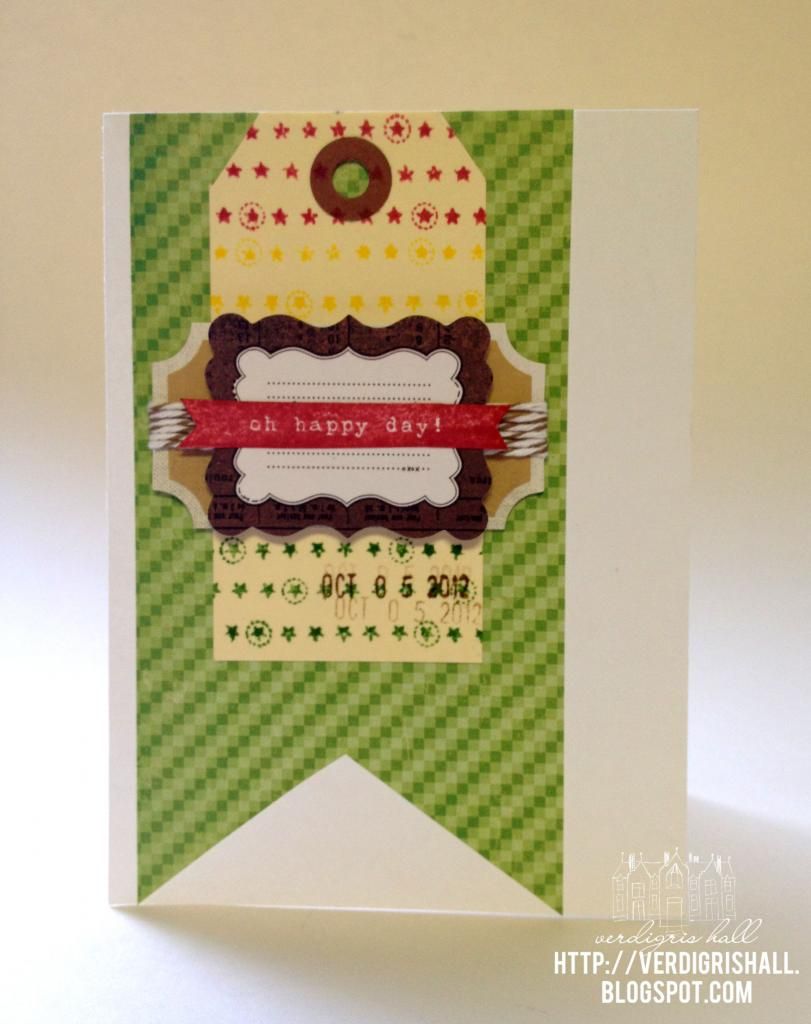
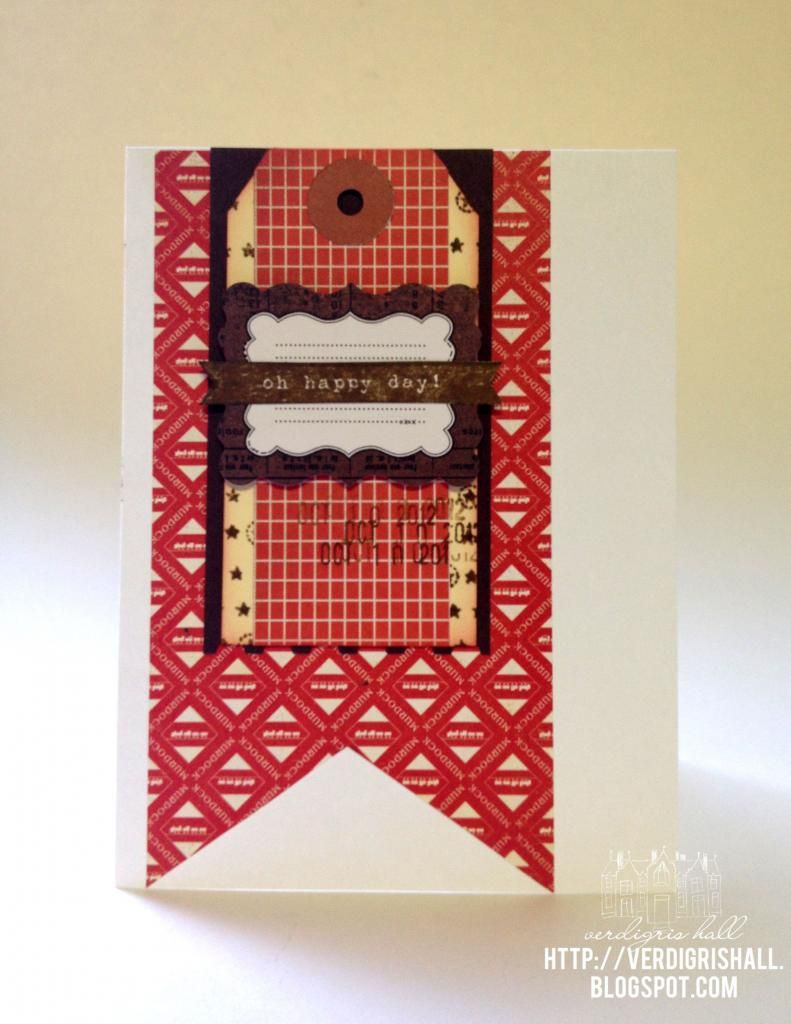
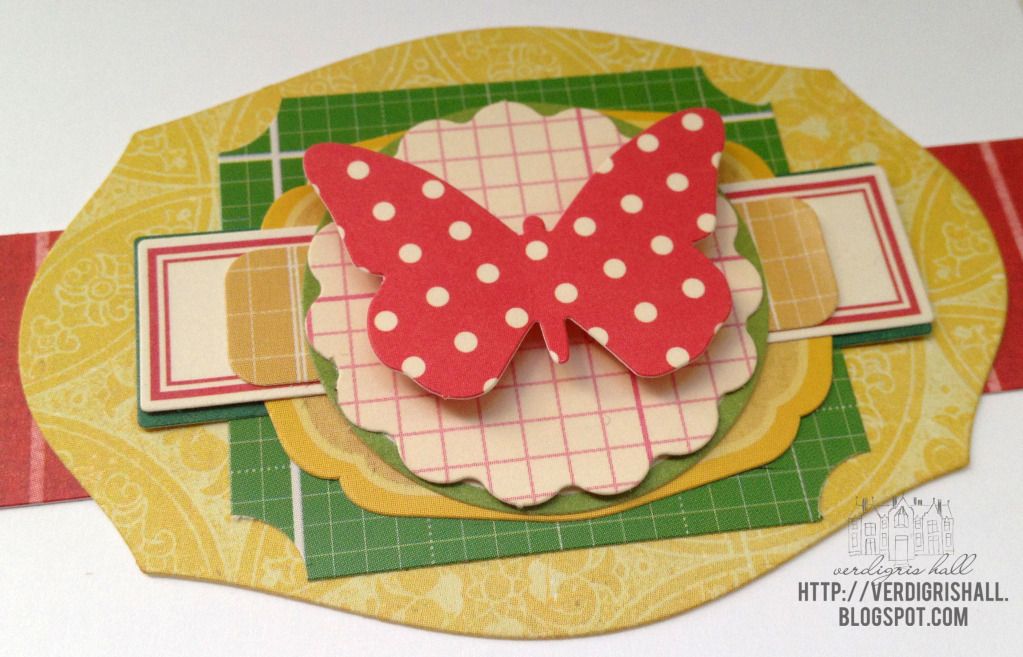
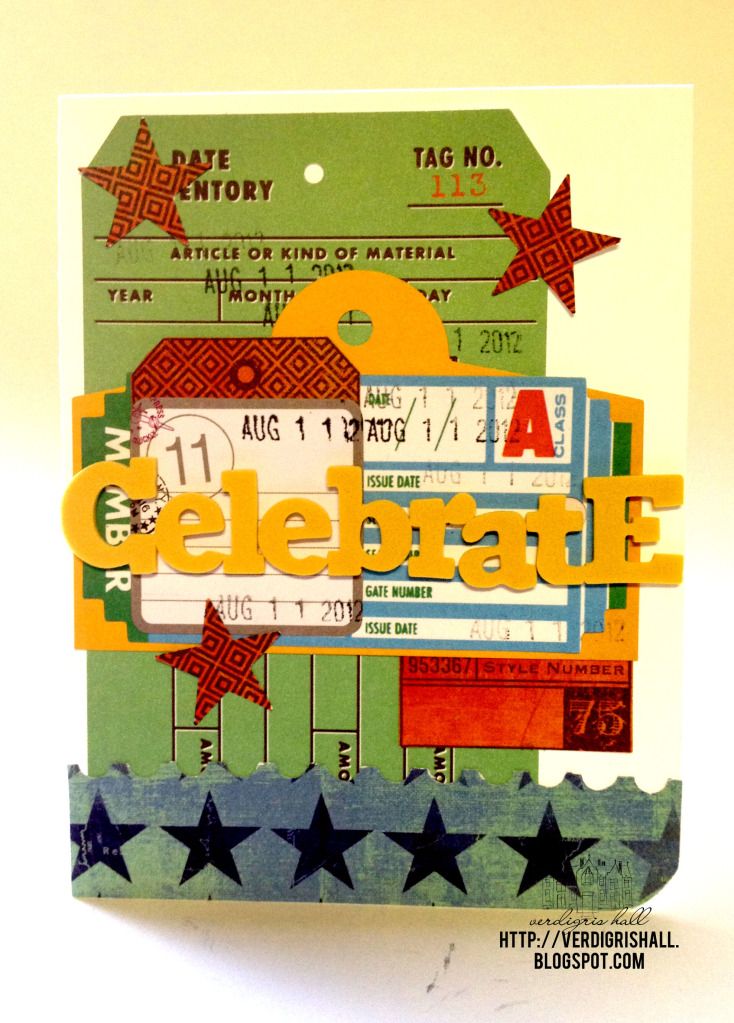
I was watching "Now, Voyager" with Bette Davis and perhaps it influenced me a bit.  Do you see the little stamped piece of washi over the aqua heart?  Like Charlotte in the movie, this little heart is mended and the healed heart is even more dazzling than before...or so I like to imagine was my unconscious reasoning for my design choices.    


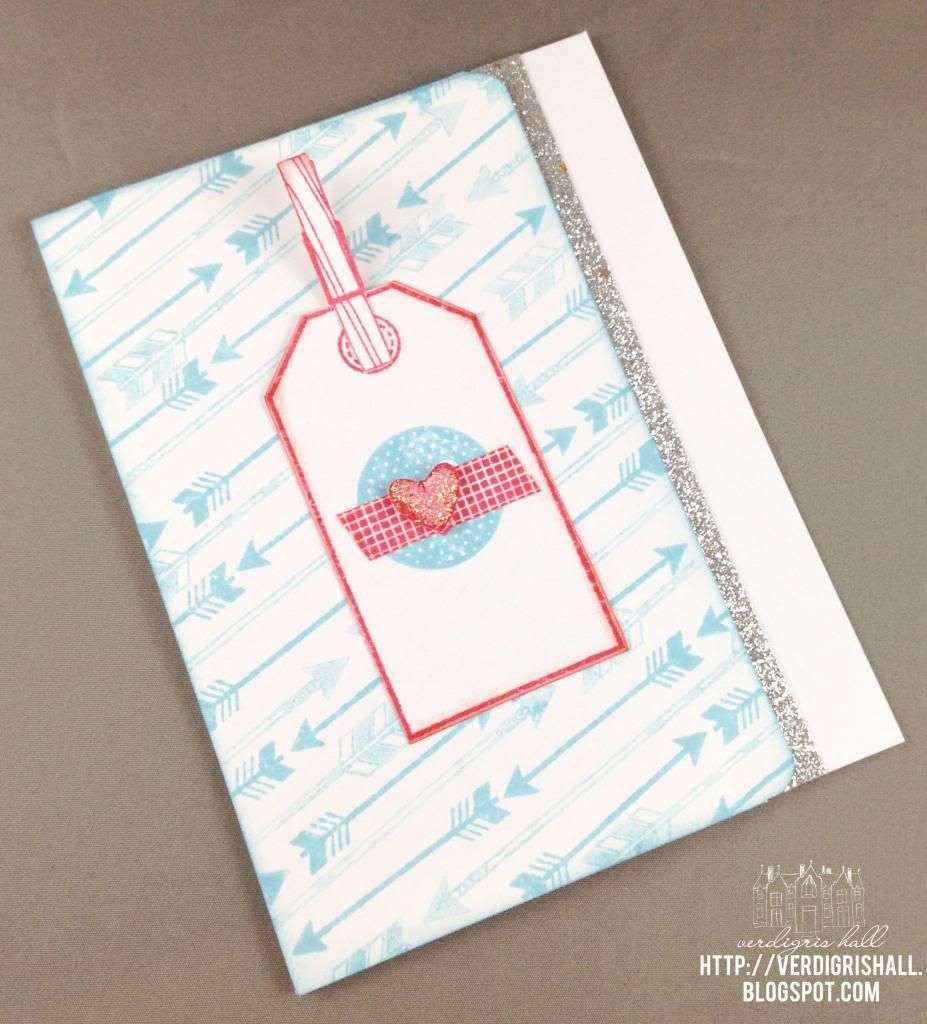
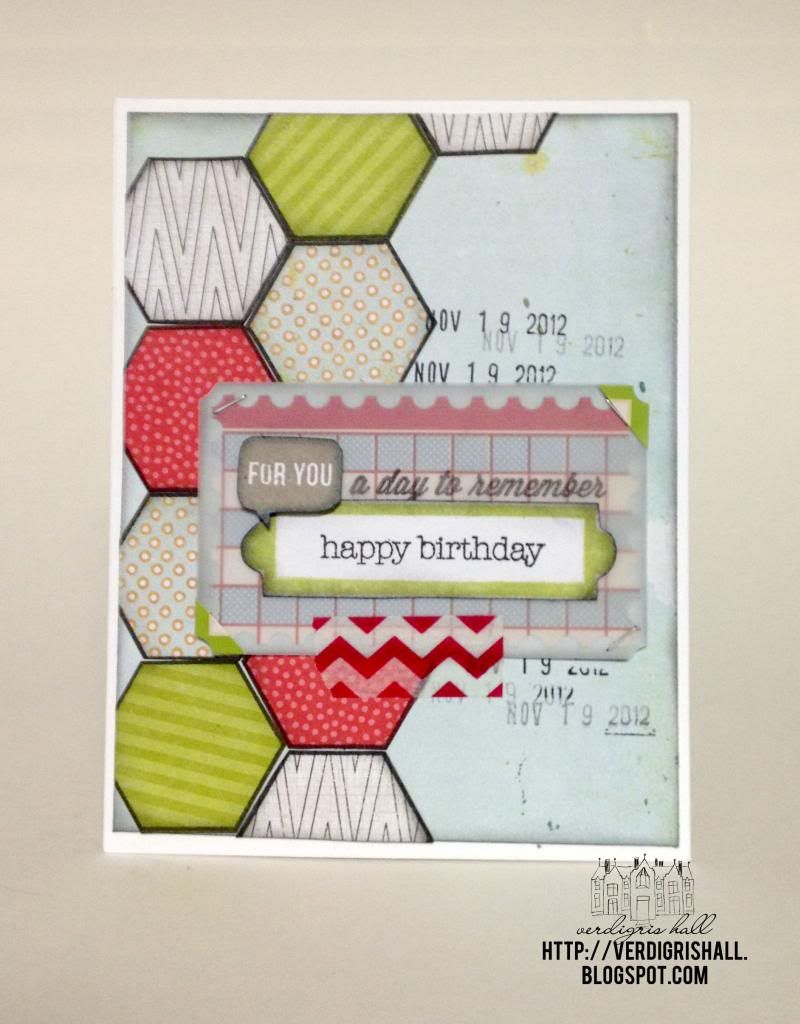
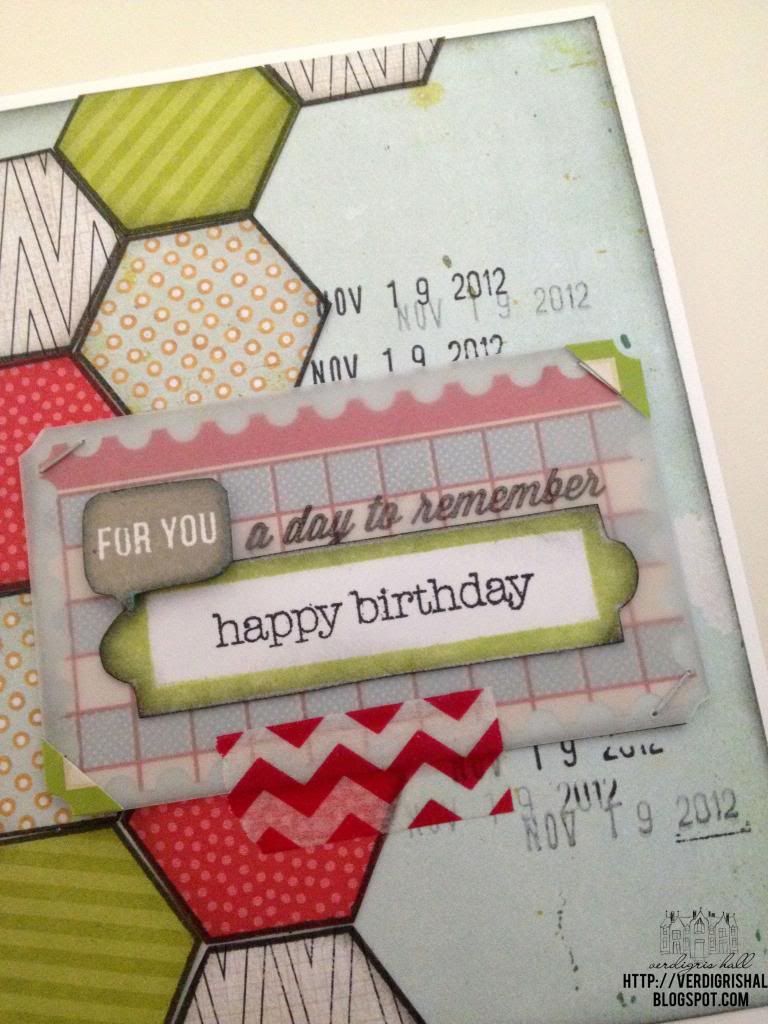
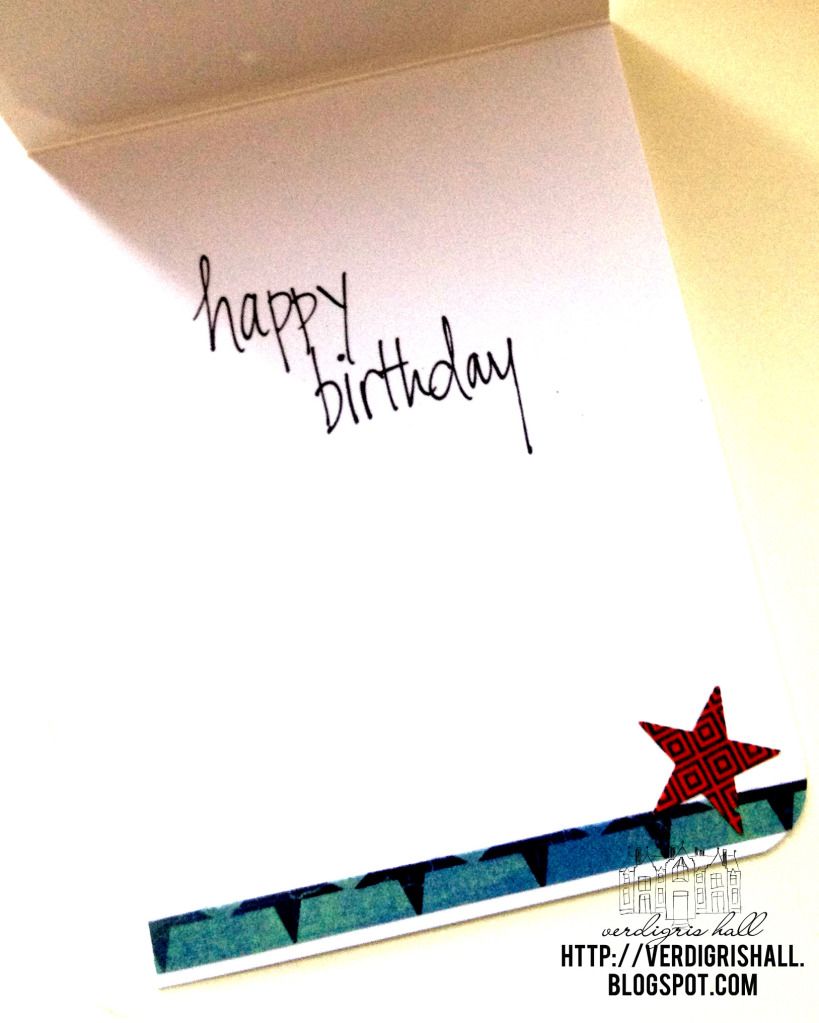
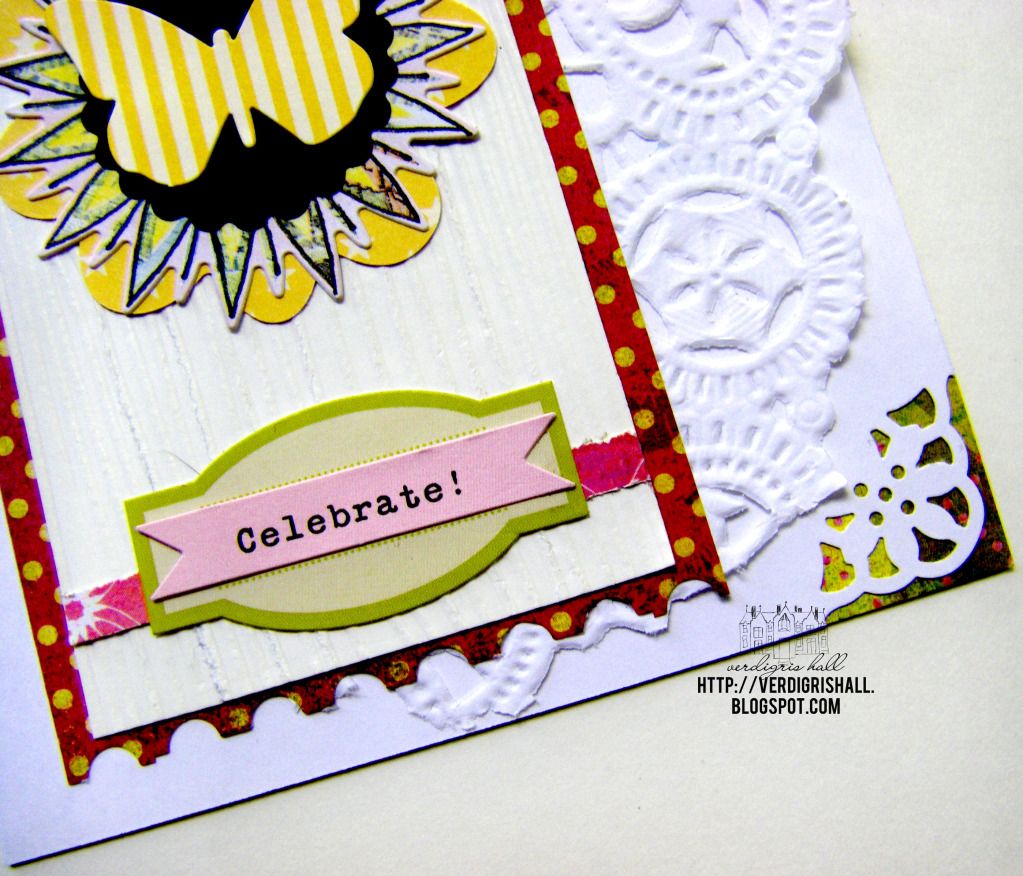
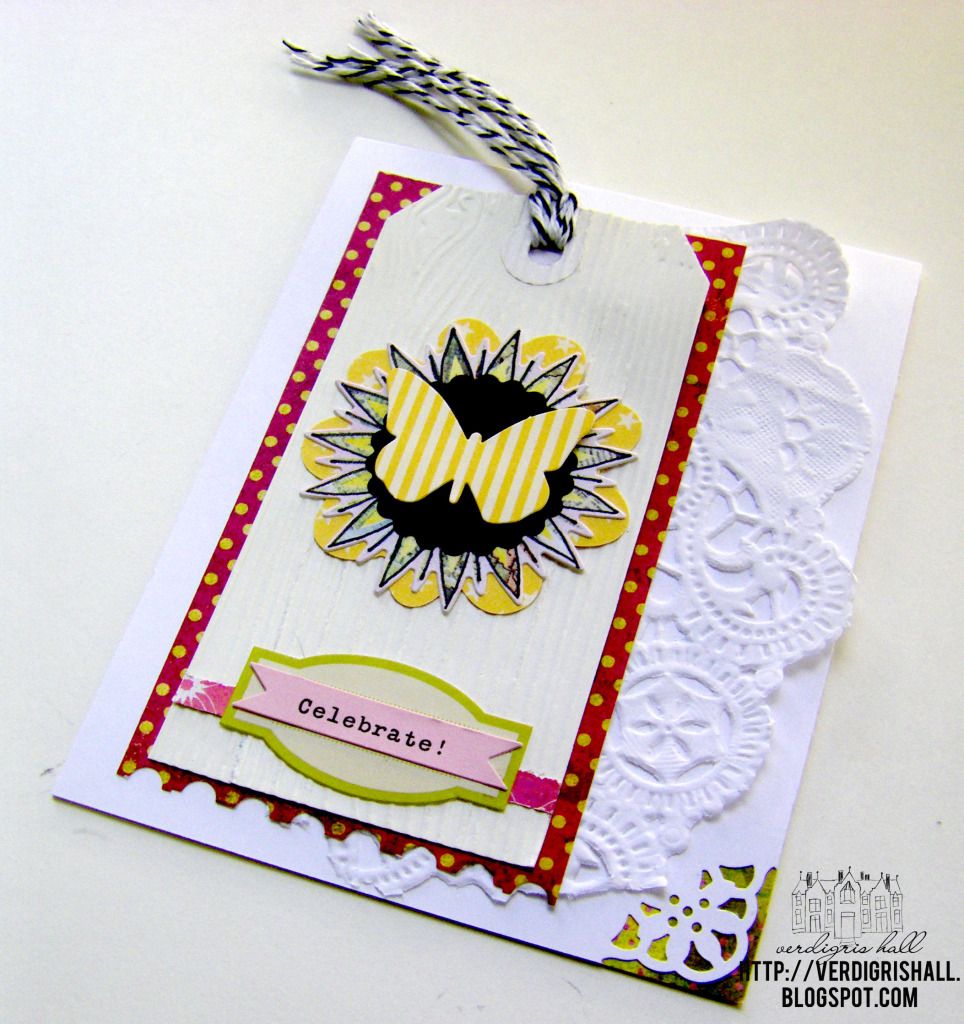
Regardless, this is a sweet little card celebrating love in all its many facets which is pretty appropriate as we look at beginning a new year.  I used the hearts and arrows from On Target, tag from No Peeking and wood clip and washi tape from We Click.  I double stamped the wood clip to give the appearance of depth and mimic the real deal...it was immediate love with that one stamp.

If I don't get a chance later, I wish all of you a new year brimming with laughter, good health, possibilities and most of all love in all its incarnations.

Happy creating,
Shay.

Supplies:
Stamps: No PeekingOn Target and We Click, Mama Elephant
Ink: speckled egg and cough syrup, Jenni Bowlin for Ranger
Cardstock: white, Georgia-Pacific
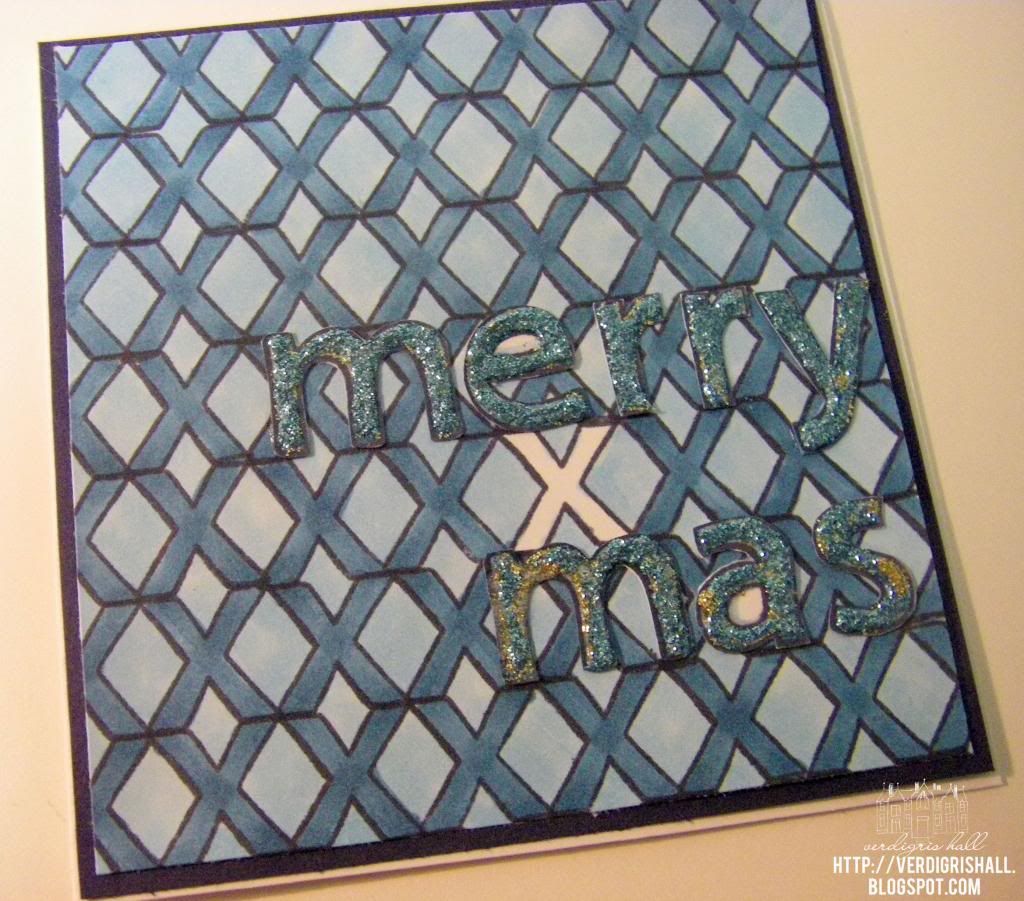
Other: diamond Stickles, Ranger; silver glitter fabric tape; foam dimensional adhesive, Stampin' Up!; corner chomper, We R Memory Keepers


December 10, 2012

Mosaic Birthday Card

Dear Reader,

Over the Thanksgiving break I watched a lot of Youtube videos with my mom (my sister reluctantly and not so happily watched some too).  She is over the moon for them and also fell in love with Lawn Fawn, October Afternoon and Betsy Veldman (I think they are all pretty swell too).  She also really liked Laura Craigie's Finally Friday videos for Two Peas in a Bucket.  One such card was the inspiration for the card I made.  To see Laura Craigie's card go HERE.

My aunt's favorite color is kelly green, but she also loves red so that was the genesis of this card.  I remembered the mosaic square tile technique Laura Craigie used and decided to give it a whirl for this card.  Having punched or cut out squares a lot in the past, her technique did indeed save a lot of time and effort.


I picked out patterned paper from Crate Paper's Story Teller collection (love this collection!)...perfect colors and patterns for this card.

I will tell you a secret.  I wrapped a border of red washi around my panel of squares because of some issues with how the edges looked (they were a bit unsightly).  Like Julia Child said, no one needs to know what happened in the kitchen...or studio in this instance.

Another issue arose when I tried to stamp upon the today sticker label from the phrase stickers from the Story Teller collection...the surface did not like my inks and it became an issue so I had to find some layers to add on top to cover up the stamping fiasco.

The red grid sticker came from my much used State Fair Die Cut Stickers from the State Fair collection by Studio Calico.  The other die cuts all come from the Sidewalks Flower Sack by October Afternoon.  I sure hope they bring Flower Sacks back because they are awesome!

Last touch was the trio of pearls to create the butterfly's body.  The whole panel was then adhered to a white cardbase.

More detail:


Inside:


Thank you so much for visiting!

Happy creating,
Shay.

Supplies:
Today Square Mosaic Birthday Card
stamp: happy birthday from In & Out: Birthday, Papertrey Ink
ink: seed packet, Jenni Bowlin for Ranger
Cardstock: solar white, Neenah Paper
Patterned Paper: from Story Teller collection, Crate Paper
Other: red grid label sticker, State Fair collection by Studio Calico; today sticker label, Story Teller collection by Crate Paper; die cuts, Sidewalks collection by October Afternoon; pearls, The Paper Studio; washi tape

December 7, 2012

A Hexagon Birthday Card

Dear Reader,

How about I share a card for a teenaged boy today?

Why not, you say.

Whew!  What a relief because that is what I have for you.


If you follow my blog you may notice some similarities with many of my recent cards:

1. White cardbase. Check
2. Patterned Paper. Check, Check, Check, Check and Check
3. Labels. Check
4. Stickers. Check and Check
5. Date stamp. Check, Check, Check, Check, Check and Check.

Hexagons may be a thing of the past (I know many are way, way over them), but I still like (okay, more than like) them and I thought they would be a good shape to use for a guy.  I simply stamped a hexagon outline stamp from Studio Calico's 35mm Kit (from May 2012) several times on patterned paper and cut out and pieced them together on the card front in a pattern I liked.  All of the patterned paper came from the Central High Card Kit by Studio Calico (from September 2012).

All of the stamps are also from Studio Calico with the exception of the happy birthday which is from Papertrey Ink.

Another element added to this card was vellum to soften the bold pattern and color of the sticker label from State Fair, an older collection by Studio Calico.

Closer view:


Inside (same green label stamp from the front of the card simply cut into a rectangle):


What do you think?  Okay even with all those hexagons?  Hopefully the teenager thought so.

Thank you so very much for taking the time to visit.  I hope you have a brilliant weekend!

Happy creating,
Shay.

Supplies:

Hexagon Birthday Card
stamps: hexagon from 35mm kit, Studio Calico; for you stamp from Venice Beach add-on kit, Studio Calico; label (green label which happy birthday is stamped upon) from School Life stamp set, Studio Calico; a day to remember stamp from Awesome stamp set, Studio Calico; date stamp from Story Hour kit (March 2012), Studio Calico; happy birthday from In and Out: Birthday stamp set, Papertrey Ink
ink: tuxedo black, Memento by Tsukineko; stick candy and weather vane, Jenni Bowlin for Ranger; black soot, Tim Holtz Distress Ink by Ranger
cardstock: white, Georgia-Pacific
Patterned Paper: 6x6 paper pad from Central High Card Kit (September 2012), Studio Calico
other: vellum; washi tape; Tiny Attacher by Tim Holtz; State Fair cardstock stickers, Studio Calico

December 6, 2012

Lawn Fawn's 2013 Winter CHA Challenge: ABCs

Dear Reader,

I am once again attempting Lawn Fawn's Winter CHA challenge.  For a flashback of last year's entries go HERE.

This time around I took on their ABCs (alphabets).  I went with something a bit different and graphic in monotones. I can see myself playing around for more variations and patterns.


My first card uses the "w" from Quinn's ABCs to create a cool pattern.  The sentiment was built using Smitty's ABCs and I wanted to play off the "w" by including the word why.


Here is another shot to see the pattern and dimension a little better:


Next, I took on the letter "x" from Quinn's ABCs to again create a great background.  X is perfect for xmas so I stamped, cut out, colored in and then added some Martha Stewart glitter glue in turquoise and gold to the "merry mas" all from Quinn's ABCs.  To make the one "x" stand out I did not color it in.


One more picture to see the pattern, dimension and glitter (although it is more glittery in person):


I think they turned out pretty cute and a fun way to use some of my favorite alphabet stamp sets.

Happy creating,
Shay.

Supplies:
why, hello card
stamps: Quinn's ABCs and Smitty's ABCs, Lawn Fawn
ink: seed packet, Jenni Bowlin for Ranger
cardstock: white, Georgia-Pacific; dark green from stash
Copics: YG11 Mignonette
other: embroidery floss


merry xmas card
stamps: Quinn's ABCsLawn Fawn
ink: spice tin, Jenni
cardstock: white, Georgia-Pacific; Night of Navy, Stampin' Up!
Copics: Bo1 Mint Blue and BG07 Petroleum Blue
other: turquiose and gold glitter glue, Martha Stewart Crafts

December 5, 2012

One Design, Two Cards

Dear Reader,

Today I bring you a couple of cards that have the same design with changes in colors and other elements.  Don't tell anyone, but the cards are for brothers that are born in the same month and so I did them at the same time.  I actually really enjoy coming up with one design I like and play off it by customizing it for the particular person with colors, themes and/or motifs I know they prefer.  This saves me a ton of time in trying to come up with another original concept for a card.

I have found that an element I really like to add to some birthday cards is the recipient's day and month of birth (including the year I am making the card) to make it more personal.  There are a slew of new roller date stamps coming out from American Crafts that make this really easy and for an even simpler solution go to any office supply store and pick up a roller date stamp.


For these cards I wanted to play with Happy Day stamp set from My Mind's Eye and surprisingly enough the paper comes from Crate Paper's Little Boy Blue 6x6 paper pad which is for little boys, but has some really versatile papers for use for men or women.  Other elements I used were die cuts from Studio Calico and labels from Basic Grey.

Hope you are enjoying your December!

Happy creating,
Shay.

October 11, 2012

Clean & Simple: 20 Years Together

Dear Reader,

What feels better than sending an anniversary card to a couple who have been happily together for several years?  Anniversaries are truly joyous occasions because they mark and celebrate people's ability to love, build a partnership and life together, compromise, commit and see the best in another.  In no way is marriage easy and for two people to reach these milestones is really amazing and a true inspiration.

My aunt and uncle recently celebrated 20 years of marriage.  I wanted to go with a clean, sophisticated look.


I have these number dies by Papertrey Ink that may have been one of my best purchases from them because they make birthday and anniversary cards so much easier.  For this card I wanted to use the piece of patterned paper I cut the 20 from as the main focus of the card.  I adhered the strip to the white card base using dimensional adhesive.  The celebrating and amazing years comes from a birthday themed stamp set by Papertrey Ink that coordinates with the dies.

I thought I was done with that, but I felt it needed something a bit more organic and pretty so I pulled out my beloved Flourish Fun 1 by Paper Wings Productions designed by my friend, Julie Mogford and stamped the main bold flourish in grey (this was actually stamped off once on a piece of scrap paper and then stamped on the card stock for a softer grey).

Inside the card I used a mix of sentiments from stamps by Papertrey Ink and Simon Says Stamp! in red and grey inks and the same technique with the flourish stamp before (stamping off once on scratch paper before stamping in the card).  The border is a piece of the same red and white herringbone patterned paper from the front with a border sticker over top of it.


And another view of the card before sending it off:


Thank you so very much for taking the time to stop by!

Shay.

20 Amazing Years Card
Supplies:
Stamps: Big Birthday Wishes, Papertrey Ink; Flourish Fun 1, Paper Wings Productions; mini scrapbook series: journaling circle, Papertrey Ink; Beautiful Words, Simon Says Stamp!
Ink: weather vane and chili powder, Jenni Bowlin for Ranger
Cardstock: solar white, Neenah
Patterned paper: Little Boy Blue 6x6 paper pad, Crate Paper
Dies: By the Numbers Die Collection, Papertrey Ink
Other: dimensional adhesive; border sticker from Portrait collection, Crate Paper

October 5, 2012

Coming Soon...

Dear Reader,

My handwriting and some of my doodles will soon be available in stamp form over at Paper Wings Productions.  Along with these stamps, are several awesome stamps by my friends, JulieLizhandmade by Lissie girl and cling stamp sets by Carrie Avery, the owner of and brain behind Paper Wings Productions, that are great for autumn, the upcoming holidays and well beyond.  

Carrie has also been extremely busy working on the updated website and packaging.  For sneaks and more information, check out The Aviary.

Here are bits of a few cards I made with my new stamps with some previously released Paper Wings Productions stamps:


What do you think?  Excited to see more?  Check back here and on The Aviary for more projects and inspiration.

Happy Friday,
Shay.

October 4, 2012

Wishing you...


Dear Reader,

Sometimes there are occasions we don't want to make cards for, but are necessary to show our love and support.  Recently I made a card for an aunt who is very ill and she may never get better.  Understandably it is a wrenching situation for my aunt and her family.  "Get Well Soon" although a hopeful and lovely sentiment isn't always appropriate.  What then?  I found a solution using The Greenhouse Society's May 2012 stamp set by Technique Tuesday.  For the design, I wanted something pretty with bright colors including red and this is what I came up with:


A close up of the layers of stickers and die cuts:


The inside of the card:


Wishing you all the best,
Shay.

Supplies:

Wishing you.... card
Stamps: Greenhouse Society 05-12Technique Tuesday
Ink: chili powder, Jenni Bowlin for Ranger
Cardstock: solar white, Neenah
Patterned Paper: My Mind's Eye and Crate Paper
Punches: Stampin' Up! and Martha Stewart Crafts
Die: Mat Stack 1Papertrey Ink
Stickers and Die Cuts: October Afternoon and Studio Calico


October 3, 2012

Quilting Birthday Cards ala Papertrey Ink

Dear Reader,

Life is at last returning to normal at our household which is a huge relief.  I can't say how grateful I am not to have to make a daily trek to the hospital and eat take out.  With that said we have a family friend and a family member who are dealing with very dire health issues.

I recently made a couple of cards for quilters for their birthdays.  I had been eyeing some stamp sets from Papertrey Ink because my mom loves to sew and occasionally does some quilting as does her friends.  I finally bought the Quilter's Sampler and Stitches & Swirls stamp sets.

The first card up is all about warm fall colors and using the log cabin square from Quilter's Sampler.  I have been on a gold embossing powder kick lately so I embossed several squares on different pieces of patterned paper then I colored them in with Copic markers for more of variation in color.  All of this is mounted on red cardstock and then mounted on a piece of yellow patterned paper stamped with Stitches & Swirls in red ink and finally attached to a red card base. The banner is made from a Papertrey Ink die cut from patterned paper.


Inside the card is more gold embossing:

This second card is all about the hexagon die from Papertrey Ink.  I remember my great grandmother made my aunt a quilt in a hexagon pattern...perhaps that is the genesis of my hexagon love?  Whatever the reason, hexagons are definitely found in quilting and I like them so I was bent on using this new die with blue and green patterned papers.  The sentiment and the threaded needle image are embossed in white.  The button is wrapped around the navy strip several times.


Inside the card I added some more of the hexagons cut using the die:

Thank you for taking the time to stop by!

Have a fall-tastic day,
Shay.

Supplies:
Autumn Quilting Birthday Card
Stamps: Quilter's Sampler, Stitches & Swirls, Botanical Silhouettes, Papertrey Ink 
Ink: Versamark, Tsukineko; chili powder, Jenni Bowlin by Ranger
Cardstock: red, Stampin' Up!
Patterned Paper: Random 6x6 paper pad, Crate Paper; Farmhouse 6x6 paper pad, Crate Paper; Little Bo Peep 6x6 paper pad, Crate Paper; Autumn Press 6x6 paper pad, Studio Calico; Stampin' Up!
Die: Double-Ended Banner, Papertrey Ink
Other: gold embossing powder; Copic markers

Blue and Green Hexagon Birthday Card

Ink: Versamark, Tsukineko; seed packet, Jenni Bowlin by Ranger
Cardstock: solar white, Neenah; navy, stash
Patterned Paper: PB&J 6x6 paper pad, Basic Grey; Pretty Party 6x6 paper pad, Crate Paper; Little Bo Peep 6x6 paper pad, Crate Paper
Die: Cover Plate: Hexagon, Papertrey Ink
Other: white embossing powder; button; white embroidery thread

August 31, 2012

Today's Wonders

Dear Reader,

I haven't anything to show you at the moment.  Rather I thought I would take the opportunity to list Today's Wonders or The Goods for today as too often I find myself dwelling on what isn't good.

In no particular order:

1. Texting.  I find texting a convenient way to communicate.  I will be the first to admit I was wrong about it (as I fought using it for years).  Speaking of texting, I still don't abbreviate overly much...it just goes too much against who I am.
2. Job.  First, I have one which is something to be grateful for.  My job affords me a lot of flexibility, freedom and little emotional burden.
3. Dogs.  This could undoubtedly be on my list every single day.  My dogs bring me an immense amount of joy because they are so happy and entertaining.  A lot of what I do revolves around them, but the brightness and routine they give me is well worth how silly I am about them.
4. Family.  My family are so much a given in my life, I often overlook them...I am pretty lucky.  They won't always be around so it is best to spend what time I have with them remembering how lucky I am.
5. Friends.  Today I am thankful for friends for their kindness and generosity of spirit.
6. Imagination.  Every Thanksgiving when we mention what we are most thankful for, imagination is on my list.  Without imagination, there would be no fiction, no art, no invention, no creativity and that would mean the color would be leeched out of my life in particular and I think the world in general.   When all else is going wrong in the world there is still the vast marvels of the imagination.

I hope your weekend is full of wonders,

Shay.

August 24, 2012

Button Birthday

Dear Reader,

I have a simple card for you today involving stamping on a one layer card.  As the birthday lady sews a lot I pulled out an oldie, but goodie from Studio Calico: my beloved button stamp set.  Such cute button images including a woodgrain button--what is not to like about that?

For more interest I chose happy colors (mostly yellow) and added one color in a slightly darker hue (seed packet) to keep it from looking too pastel.  Unfortunately, the pictures aren't ideal, but I still hope you like it!


Have a weekend full of delightful moments!

Shay.

Button Birthday
Stamps: buttons, Studio Calico; happy birthday from Botanical Silhouettes set, Papertrey Ink
Ink: chewing gum, chicken feed, lemon drops, seed packet, speckled egg, stick candy, Jenni Bowlin for Ranger
Cardstock: Georgia-Pacific

August 10, 2012

Celebrate

Dear Reader,

I am bringing you yet another masculine birthday card.  I seem to have to make so many masculine cards that they no longer phase me (much).  This cousin of mine whose card I just made turns 14.


I chose to begin by picking out Heidi Swapp's No Limits 6x6 paper pad with its blues, oranges and very male friendly designs.

Next, I pulled out a new stamp set by Basic Grey/Hero Arts from the Clippings collection.  I think this line is also very gender neutral and ageless.  I stamped the tag (I really need the background of the matching design) on a piece of orange patterned paper in spice tin ink by Jenni Bowlin for Ranger.  I ended up cutting into two pieces to use as elements in different locations.

From here I pulled out State Fair die-cuts from Studio Calico.  When these first came out, I was so excited and recently my excitement has been reignited.  I really love how older collections can be used with newer products for endless uses and possibilities.  Also used was a little die cut from the Bits from the original Amy Tangerine collection (love these!).

I added the sentiment in yellow Thickers...they are getting a lot of use lately as they are a great size and color.

Lisa Truesdell turned me onto multiple stamping of a date (my cousin's birthday this year) which seems appropriate and adds an interesting element.  I am not sure why they are mostly concentrated above the Thickers....

Because I love the diamond pattern found on the little tag stamp from the Basic Grey/Hero Arts stamp, I stamped the tag out again and punched out stars from it.

The right hand corner of the card is rounded because I felt it would help the card look less angular.

A quick peak inside (leftovers add a little of the outside to the inside):


And one more look before it goes into the mail:


Thank you so much for taking the time to visit!

Shay.

Celebrate birthday card
Stamps: Guest Check from Clippings collection, Basic Grey/Hero Arts; date roller stamp; Dear Lizzy (Studio Calico exclusive from Story Hour kit, March 2012)
Ink: spice tin and fountain pen, Jenni Bowlin for Ranger
Cardstock: solar white, Neenah Papers
Patterned Paper: No Limits 6x6 paper pad, Heidi Swapp
Other: Eric foam Thickers, American Crafts; die-cuts from State Fair collection, Studio Calico; Bits from Amy Tangerine collection, Amy Tangerine; star punch, Stampin' Up!; Crop-A-Dile Corner Chomper, We R Memory Keepers

July 30, 2012

Racing to 5: The Twins Turn 5!

Dear Reader,

Have you been engrossed in the Olympics this weekend?  I have been watching a smattering of different sports: cycling; soccer/football; swimming; basketball; beach volleyball; table tennis; gymnastics; rowing; and equestrian events to name a few.  I am actually watching more variety than usual as I tend to be most consistent in watching swimming, diving, gymnastics and track and field.  What have you been watching?  Anything surprising?


Last night I needed to create a couple of cards for my twin cousins that are turning 5 this year!  It is unbelievable that they are already starting school this year.


I decided to try using the Toy Box collection from Crate Paper that came out last summer/fall as it is perfect for boys.  I love incorporating the twins' age into the cards and on the die cut sheet there were two race cars in perfect colors-one in blue and the other in orange and the blue one had the number 5 already on it!  I found a little number 5 from the Prairie Hill Bitty Block alphabet from Pink Paislee to add over the 9 on the orange car.

There is a little bit of stamping on these cards using the cool number label from the now gone (but not forgotten) The Girls Paperie stamp set from the On Holiday collection.  I stamped the label twice with Versamark and embossed it in white.  I colored in the 5 using an orange Copic marker.  Then I sprayed the labels with 3 different blues: Studio Calico's Mister Huey's in dewey and bonny blue and Dylusions Spray in London blue.  I wiped away the excess spray from the white sections of the label.  I never tire of how magical emboss resist is.  I adhered the cars to their respective labels using dimensional adhesive.

The rest of the card is extremely simple with panels of Toy Box collection patterned paper, a little washi tape that is reminiscent of school and rounding the bottom corners.  I finished it up by edging the card with black soot Distress Ink.

Here are the cards once more before they are shipped out to the twins:


I hope they like it!

Thank you so much for taking the time to visit!

Shay.

Race Cars 5th birthday cards
Stamp: number label from On Holiday collection, The Girls Paperie
Ink: Versamark, Tsukineko; Tim Holtz Distress Ink in black soot, Ranger
Cardstock: solar white, Neenah Papers
Patterned Paper: play date and explore and  from Toy Box collection, Crate Paper
Tool: corner chomper, We R Memory Keepers; heat gun; Tim Holtz ink blending tool, Ranger
Other: die cuts from Toy Box collection, Crate Paper; white embossing powder, Judi-Kins; Bitty Block alphabet from Prairie Hill collection, Pink Paislee; dimensional adhesive, Scotch; Mister Huey's Color Mists in dewey and bonny blue, Studio Calico; Dylusions Ink Spray in London blue, Ranger; washi tape from Studio Calico Leica add-on kit, Love My Tape

July 27, 2012

Trio of Tags

Dear Reader,

Back in June I used stamps by paper wings productions to create some fun and pretty quick tags.  I wanted to share a trio I made with just a few supplies like Memento Ink, Distress Ink, water, Prisma colored pencils, perfect pearls and paper wings productions stamps.


Any of the Papier Family stamp sets work amazingly well with the London and Paris stamp sets.  It is incredibly fun to create scenes with these stamp sets together.  

And for those wanting to celebrate the Olympic games you can't beat the London stamp set!

Enjoy the opening ceremony of the Olympic games today and thanks for taking the time to visit,

Shay.

The paper wings productions stamps used: Double Dot Border, London, Marcel, Paris, Sophie, Text Melange, Triangle Border and Writing Backgrounds.

July 26, 2012

Get to the Point

Dear Reader,

I am on a roll...out of necessity (my driving force).  I had another card for a cousin to make.  Sadly, I forgot it was her 18th birthday or I would have included 18 in the card.

As for inspiration for this card: when she recently sent a thank you card it was simple, graphic and gender neutral, so I thought rather than going the frou frou/bohemian look I sometimes do for young women (why I do this I am not sure other than maybe I am still imprinted with a spread in Vogue when I was around 18 which was a gypsy/bohemian chic look) I would go with bold colors and graphics.


Again, I went to my stash of embellishments picking out some die-cut tags from a package by Studio Calico from their State Fair collection.  I recently had been playing with a piece of yellow chevron paper from the original Amy Tangerine collection I absolutely adore (I love the grey stripe on the back too) and thought the yellow would look great with the blue and red.  I added another piece of patterned paper from Studio Calico I had on hand.  The sentiment is courtesy of yellow Thickers and red Jillibean Soup letters.  The last touches were the yellow twine and a yellow arrow from Studio Calico to mimic the arrow on the red and blue tag and draw the eye to the sentiment.


I like to add a little decoration to the inside of the card that mimics the front and also uses up scraps or extras to minimize the mess on my table.


One more view before it is shipped out:


Thank you so much for taking the time to visit!

Shay.

Graphic Birthday Card
Patterned paper: Oh Happy Grey from Amy Tangerine collection, American Crafts; Telegraph (I think that is the name or Primrose) from Field Guide kitStudio Calico 
Cardstock: solar white, Neenah Papers
Other: yellow foam Eric Thickers, American Crafts; Alphabeans in roma red, Jillibean Soup; (yellow arrow) Scrap Pads from Memoir collection, Studio Calico; Die-Cuts from State Fair Collection, Studio Calico; yellow twine

July 25, 2012

Look Ma No Stamping!

Dear Reader,

I am a big fan of a high saturation of bright white with splashes of color and touches of inky black.  A master of this is Christine Middlecamp. Sigh.  Her work is gorgeously layered and so vibrant like this project HERE.

Last night I found I needed a birthday card for an aunt of mine and I wanted to explore these colors and go a different route in making the card or in other words: make a card with no stamping!


After exploring my big tub of embellishments I picked out the Sidewalks collection flour sack from October Afternoon, elements cardstock sticker sheet from the Out of Print collection by Basic Grey and die cut stickers from the Countryside collection by Studio Calico and a lovely woodgrain embossed white tag from my new July ohDEERme kit from Freckled Fawn.  I happened to have some older paper from the Lemonade collection and a scrap from June Bug (both favorites of mine) by Basic Grey out from another project that worked with these items.


I realized I needed touches of black to make the colors pop a bit more so I added some black lines to the sticker from the Out of Print collection and adhered the yellow butterfly to a black scallop circle cut from cardstock.  The black and white twine tied on the tag and it's pattern paper backing seemed like a natural fit.  To the card base I added a piece of doily I had left.  The card still looked a bit bare in the bottom right to me so I punched the corner and added a strip of patterned paper behind it to add another element of green and interest.


One last shot before it gets sent off:

I hope my aunt likes it.  I had fun making a card a bit different than the norm for me.

I appreciate you taking the time to visit!

Shay.

Celebrate! birthday card
Cardstock: white, Georgia Pacific and black, Neenah Papers
Patterned Paper: Strawberry Patch and Tee Time from Lemonade collection and Picket Fence from June Bug collection, Basic Grey
Tools: postage border punch, Fiskars; floral corner punch, Martha Stewart Crafts; scallop circle die, Spellbinders; Cuttlebug, Provocraft
Other: elements cardstock sticker sheet from Out of Print collection, Basic Grey; element sticker sheet from Countryside collection, Studio Calico; flower sack from Sidewalks collection, October Afternoon; woodgrain tag from July ohDEERme kit (from curtsey boutique www.curtseyboutique.etsy.com), Freckled Fawn; doily from stash; baker's twine, Divine Twine; Precision Pen, American Crafts

LinkWithin

Related Posts with Thumbnails