November 25, 2013

Winnie & Walter: The Daily Grind Collection Vol. 1

Hello!  Long time no blogging.  I have a very good reason....

It's official!  Winnie & Walter is live and we have a collection on sale, newsletter freebie + coupon, Facebook Freebie and also a giveaway of the entire collection on the Winnie & Walter blog.  Don't miss out if you love digital or hybrid crafting!

I love how versatile our The Daily Grind Collection Vol. 1 is...believe it or not we designed it to be that way!  For the little moments or those special occasions, this collection has it all.  Plus it works with what you already have at home or on your computer! 

I made a few items with The Daily Grind Collection Vol. 1 including my first digital layout!

dgcv1c
 
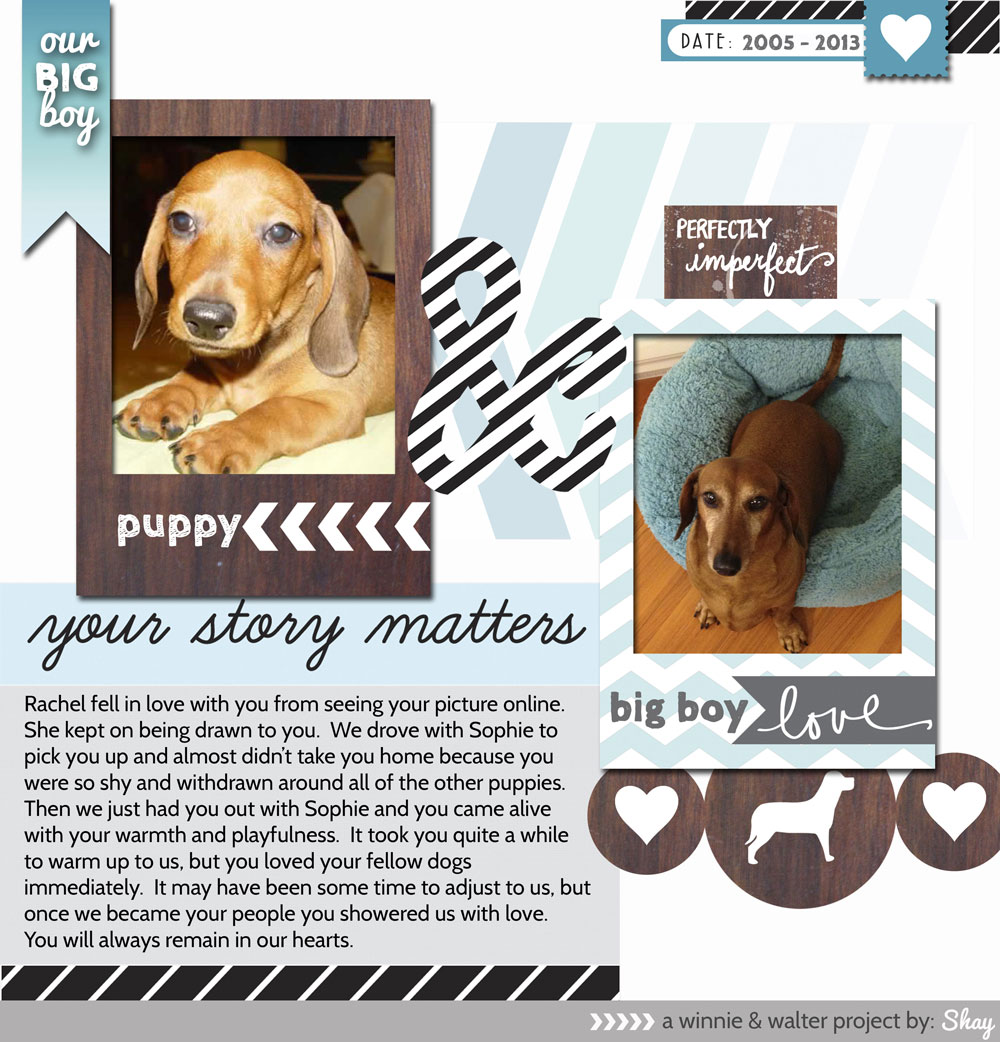
I had a lot of fun along with some tearing of the eyes (Lordy, those puppy paws get me every time!)playing with the elements, journaling cards, wood grain icons and even a little of the papers to create this layout.   
 
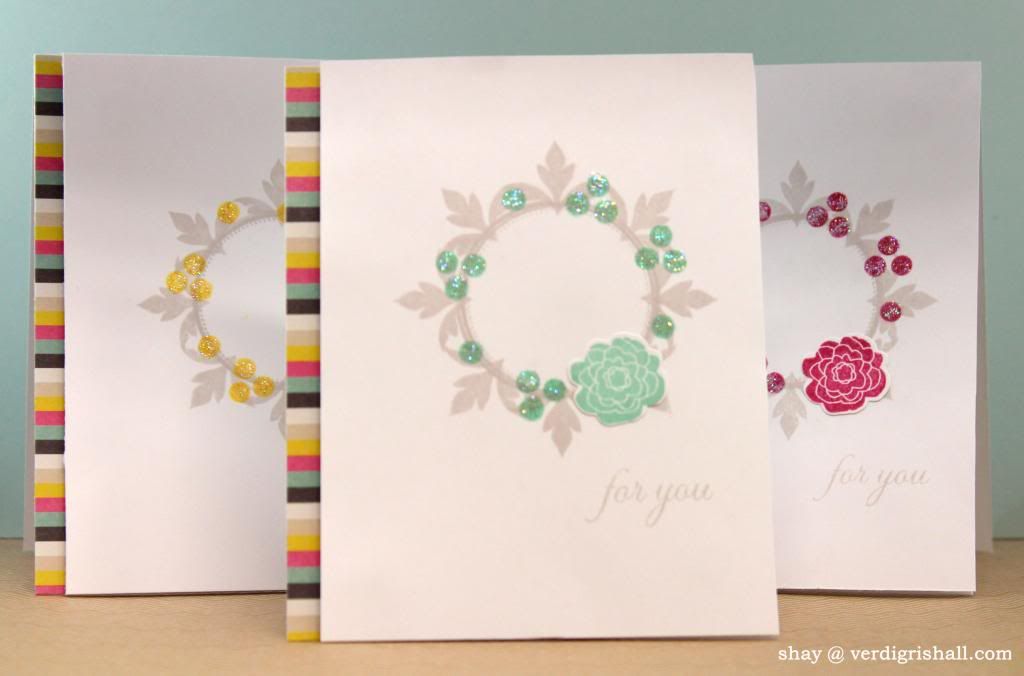
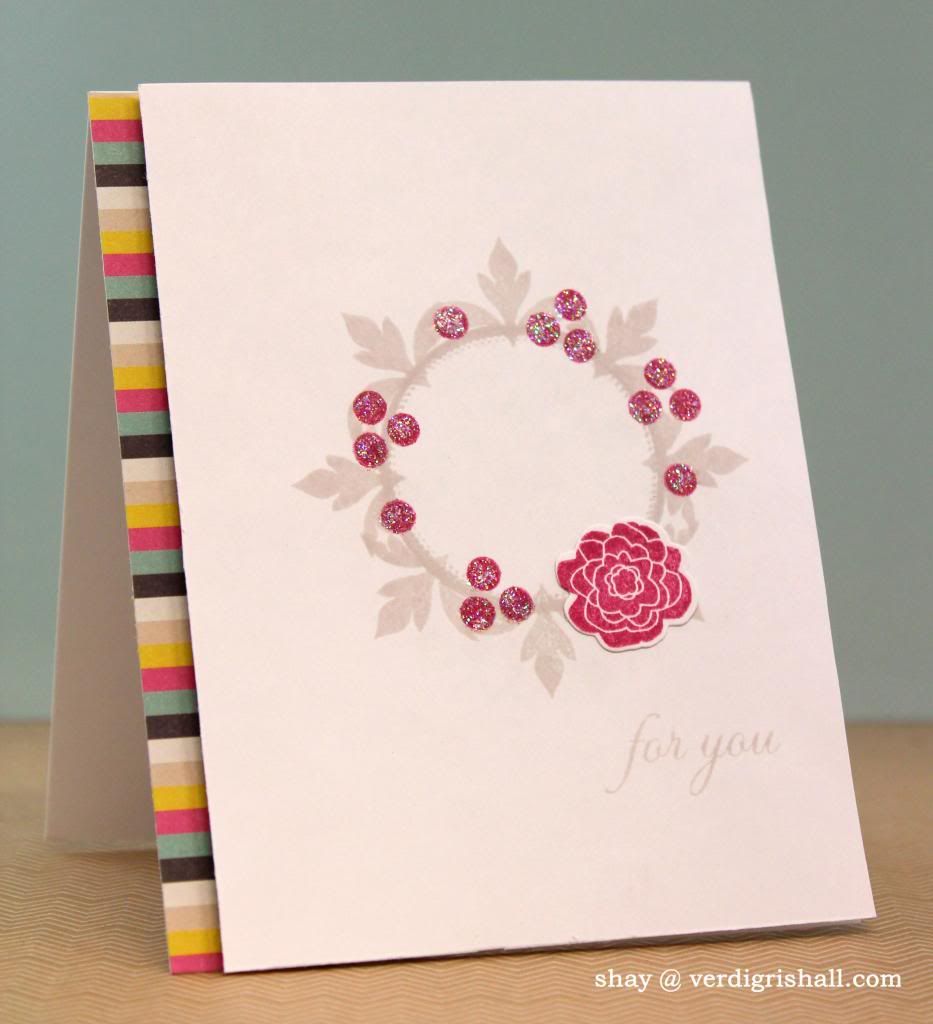
After the digital layout I went back to making cards.  I really wanted to make some cards using some of the awesome stamps I have been receiving from Studio Calico in kits and otherwise.
 
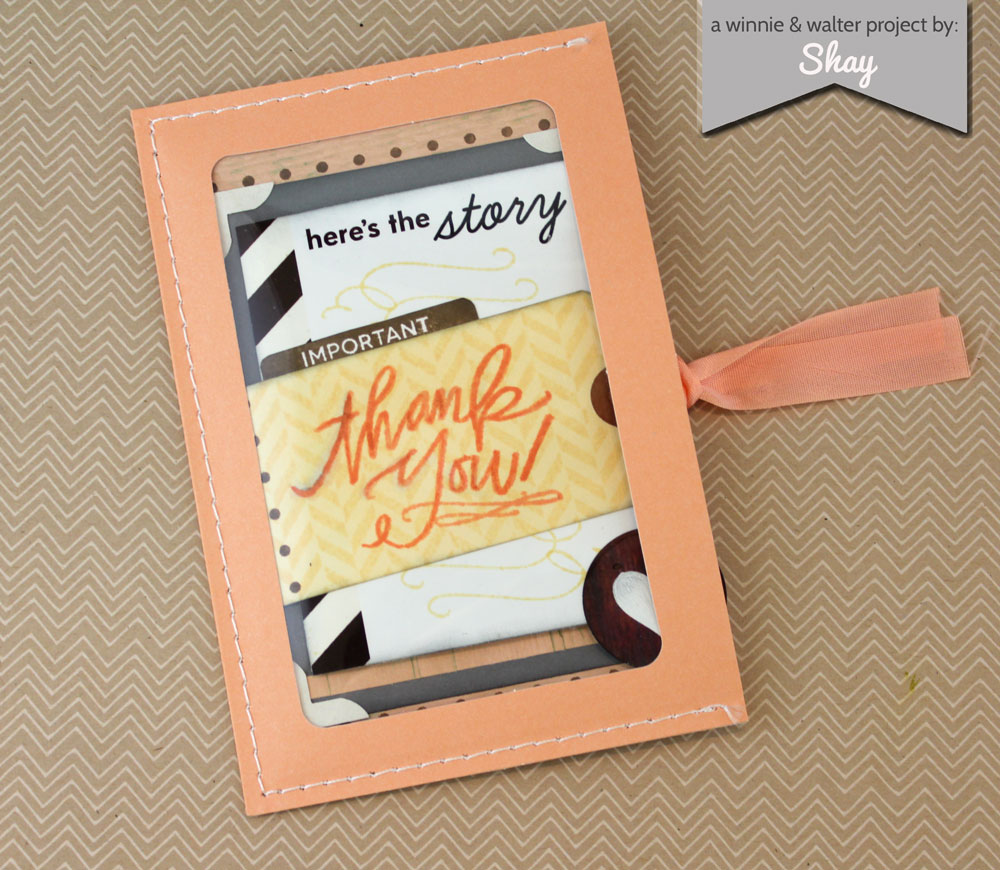
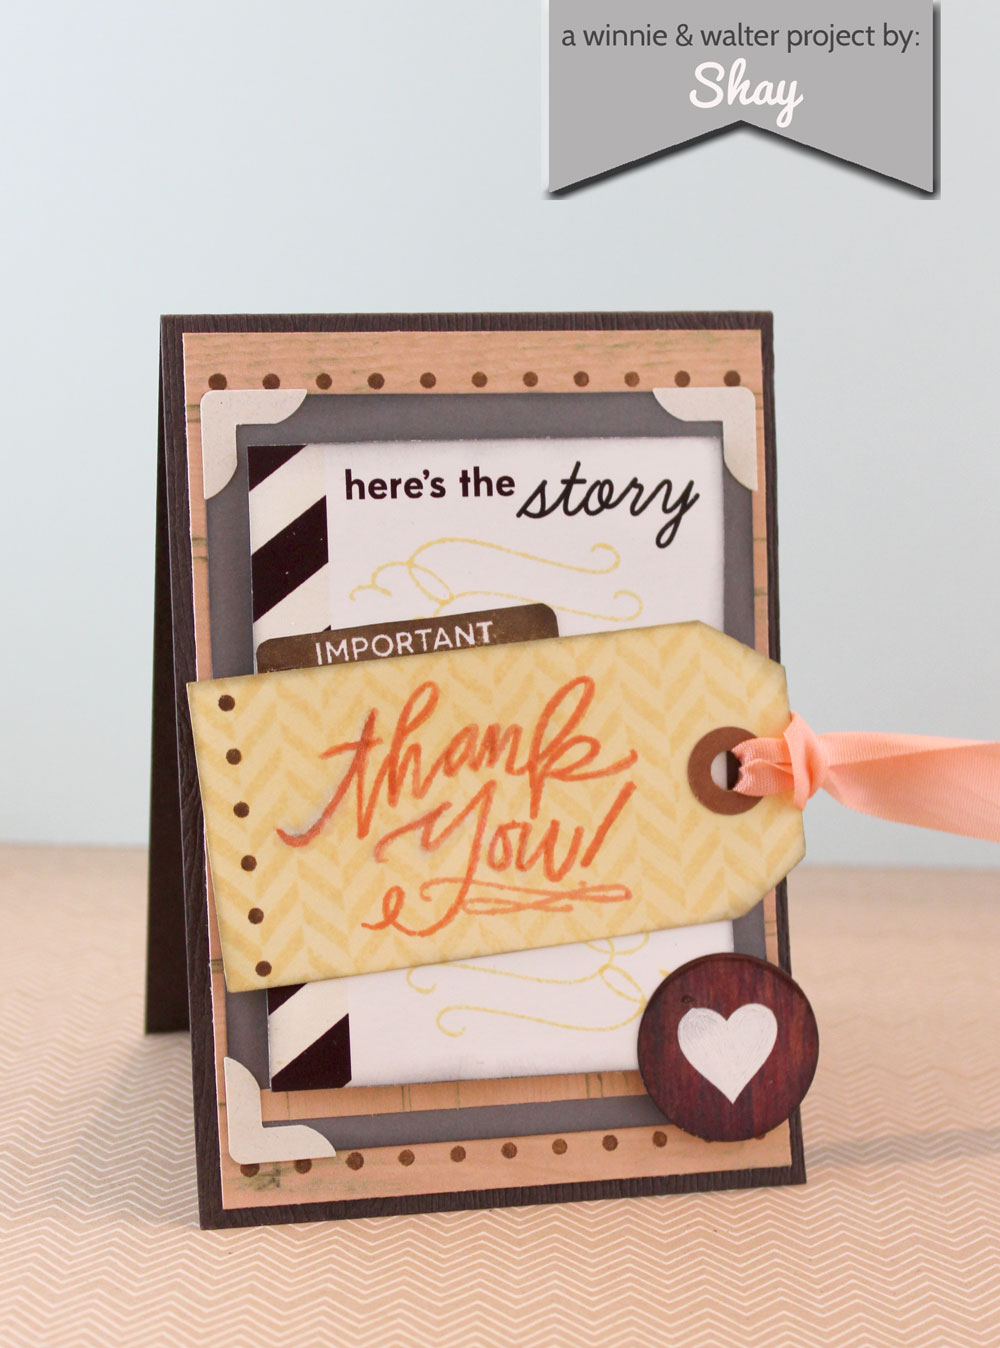
For the first card I was inspired by one of Julie Campbell's cards she made for Two Peas in a Bucket using a pocket by Studio Calico.
 
Using the Cuppa card kit I chose a pretty soft apricot to pair with the deep wood grain, vanilla and pewter grey.  
 

dgcv1b

dgcv1a

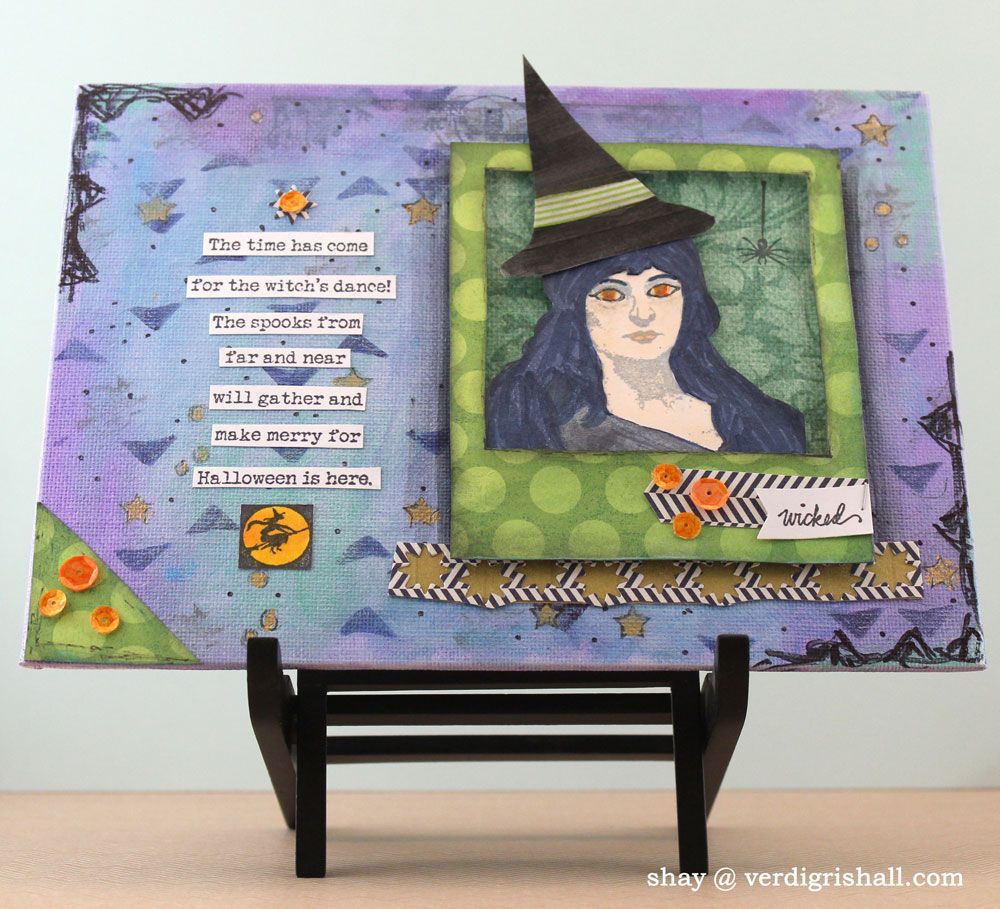
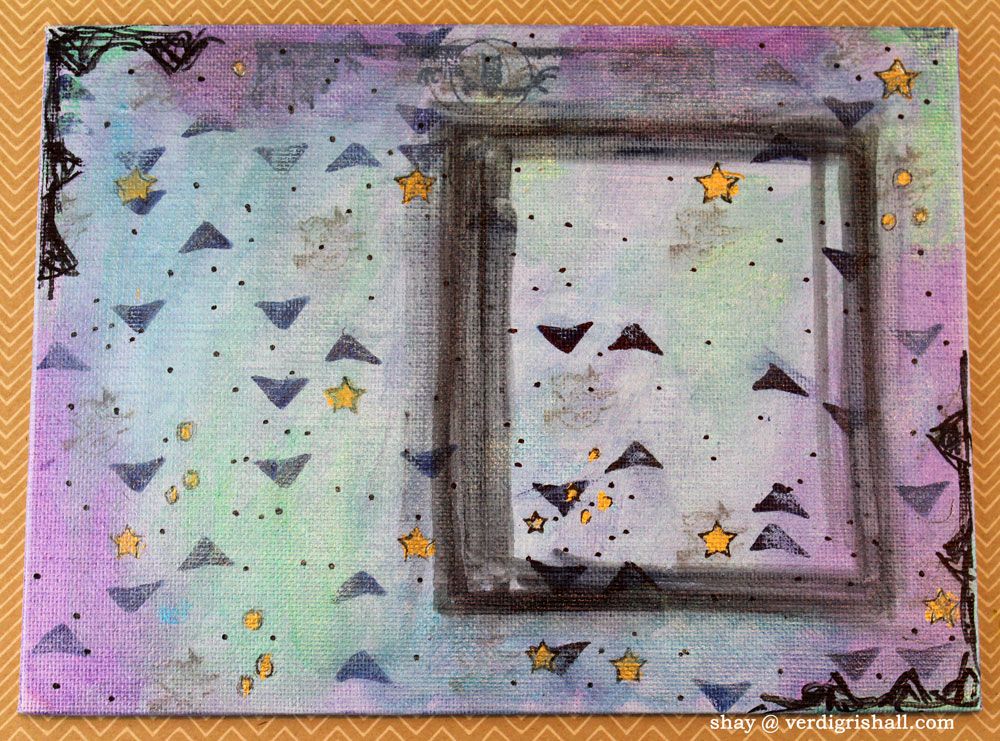
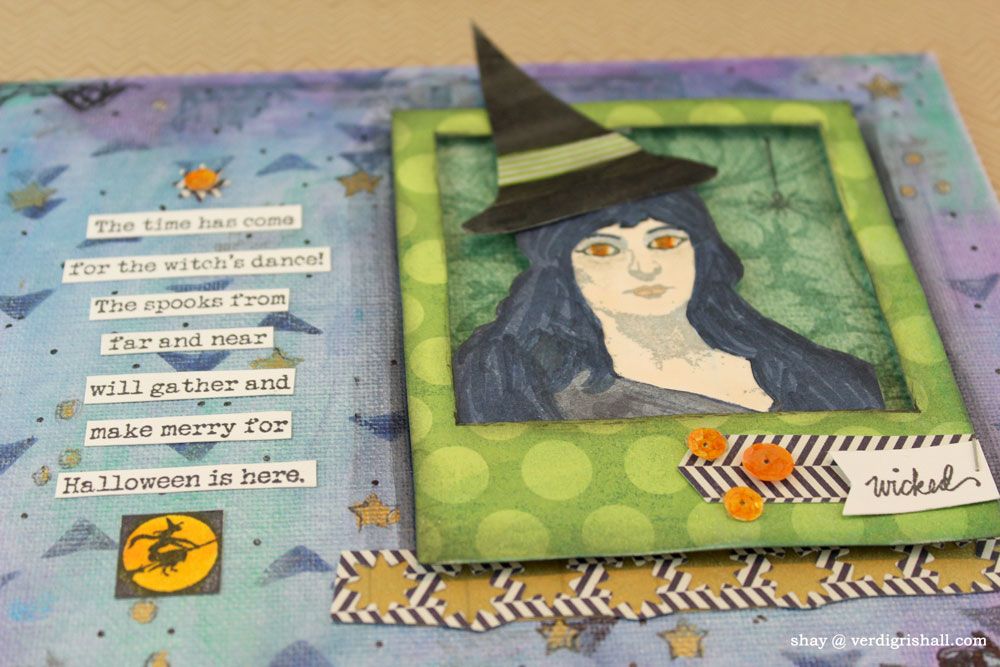
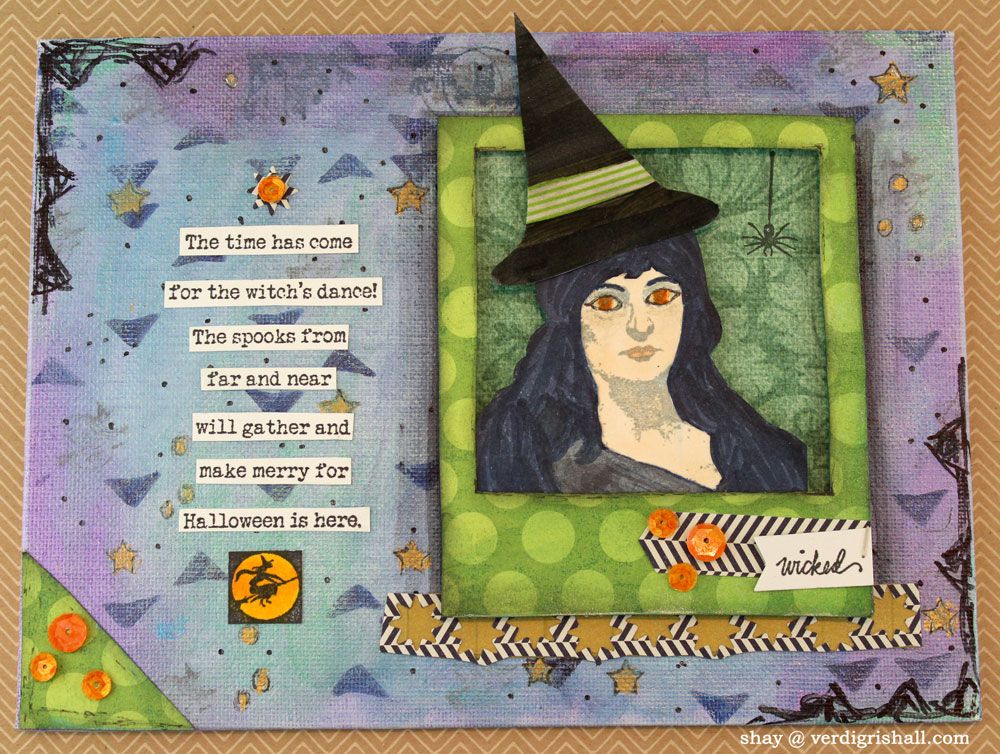
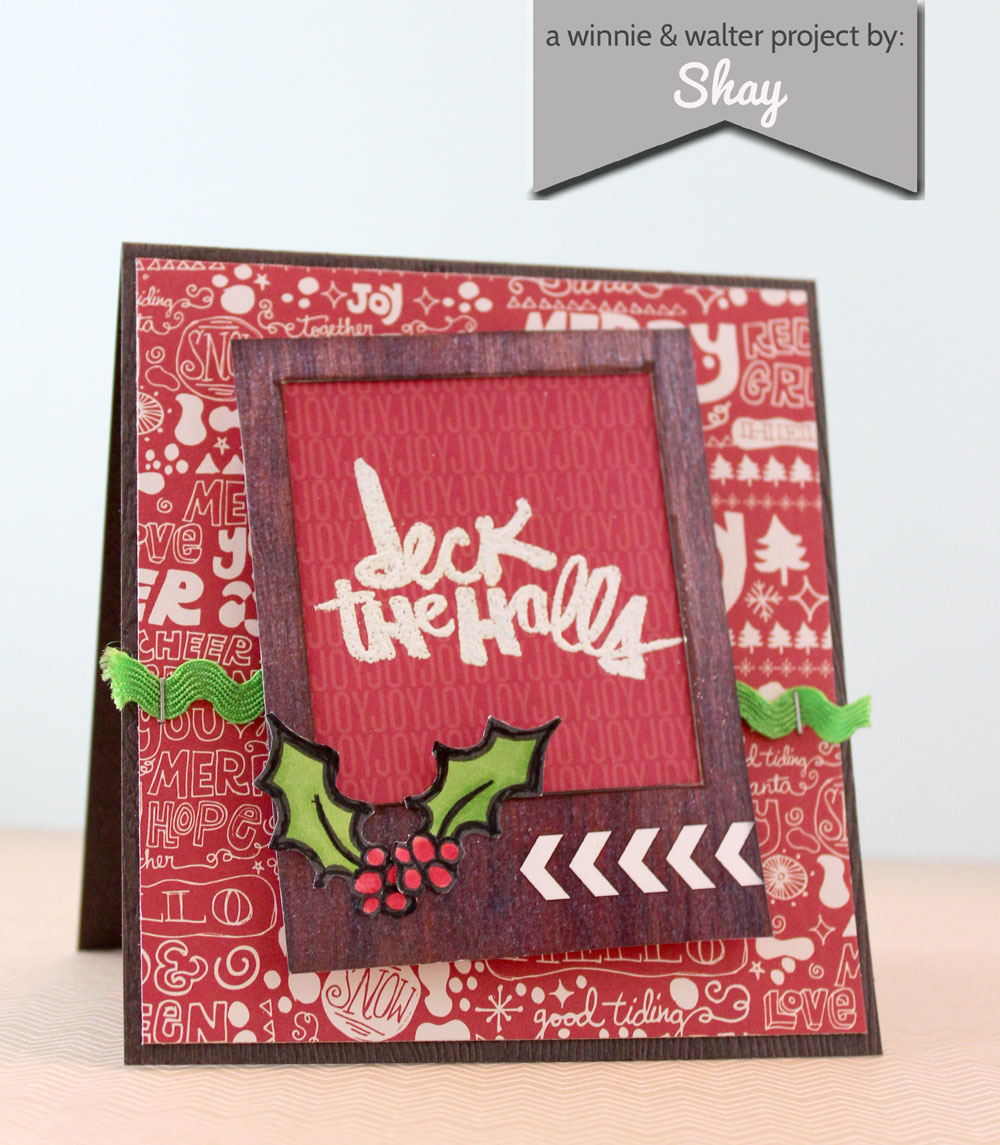
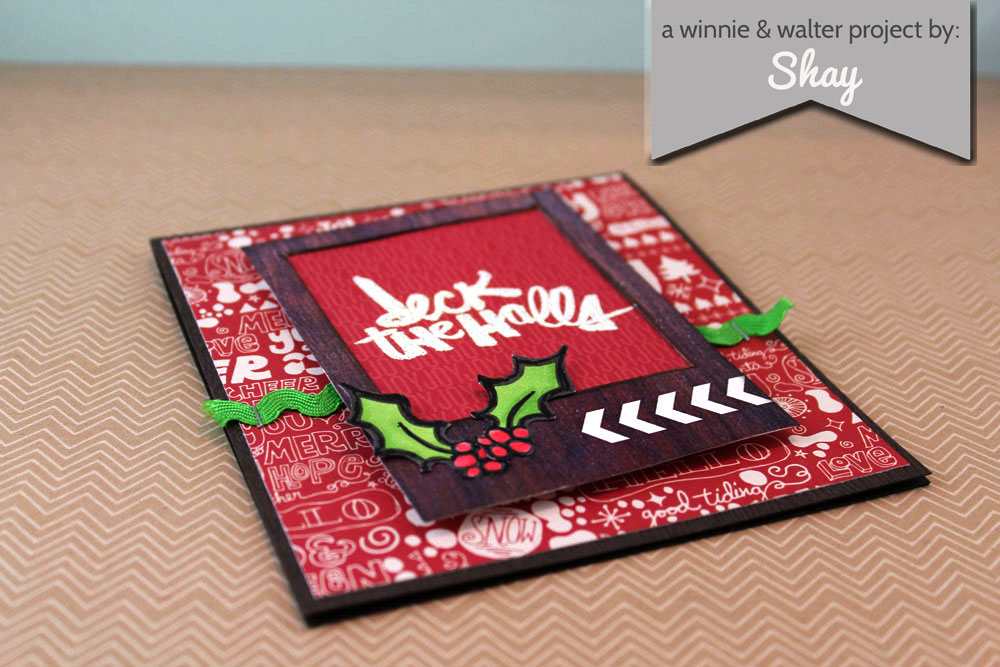
Next I really wanted to pair our new collection with Christmas products.  I chose to pick out the wood grain frame to work with the Magical 6x6 paper pad and the cool Peppermint stamp designed by Kal Barteski.

dgcv1d
dgcv1g

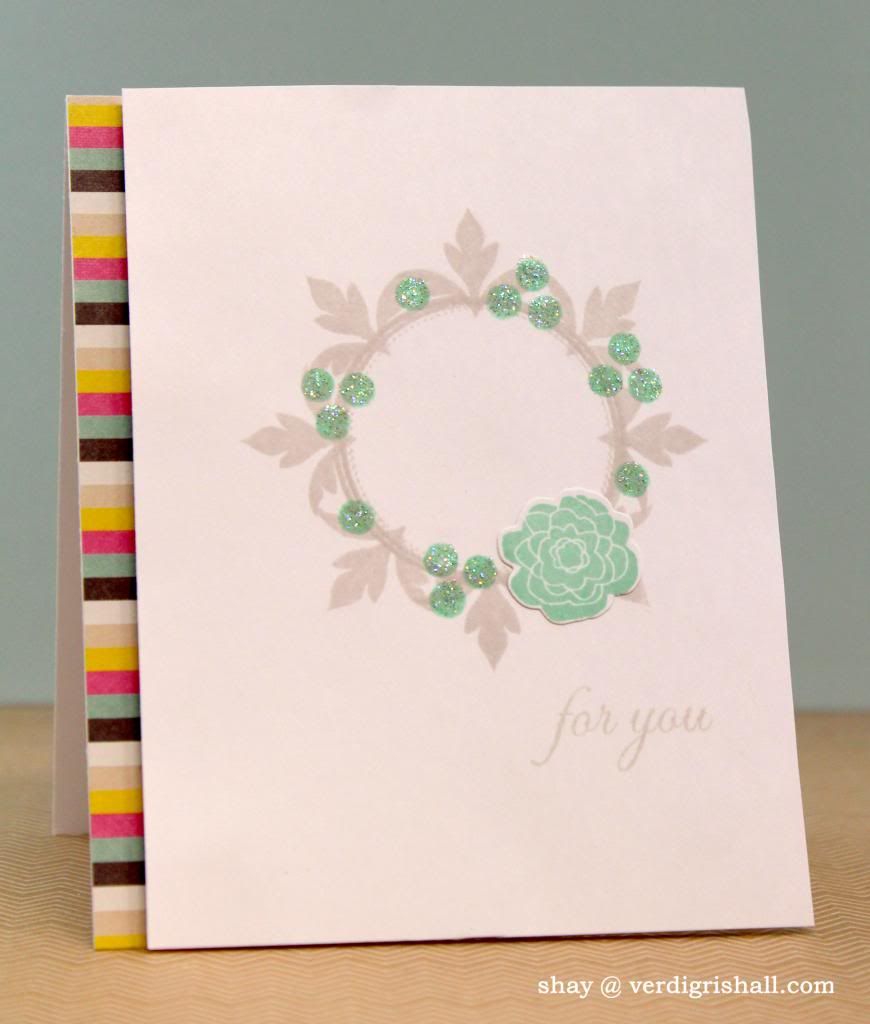
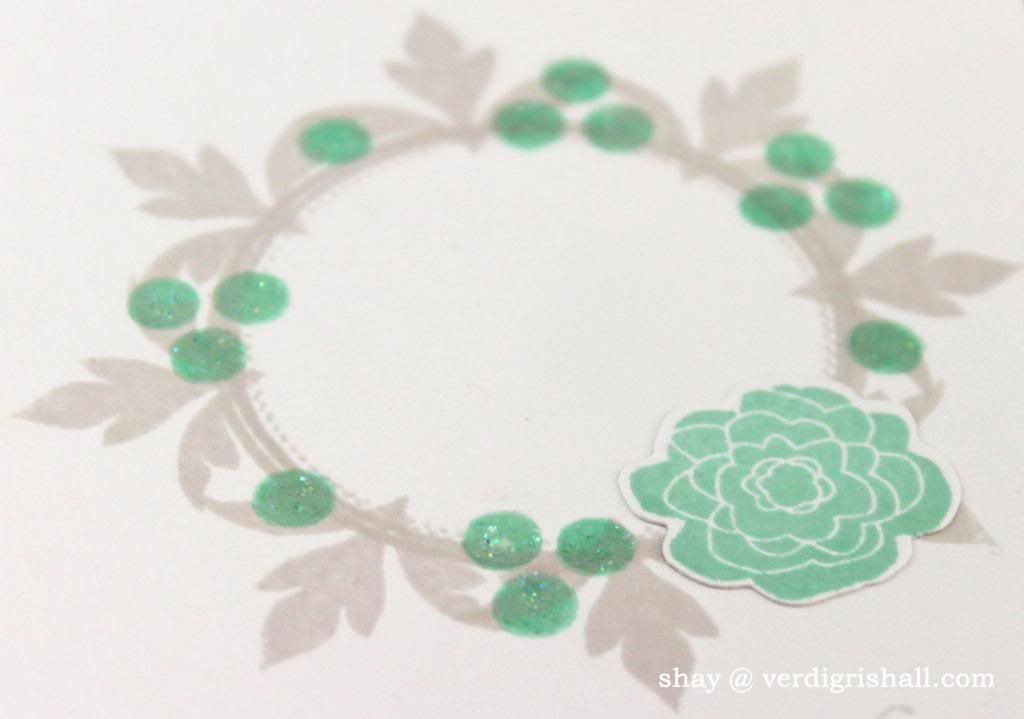
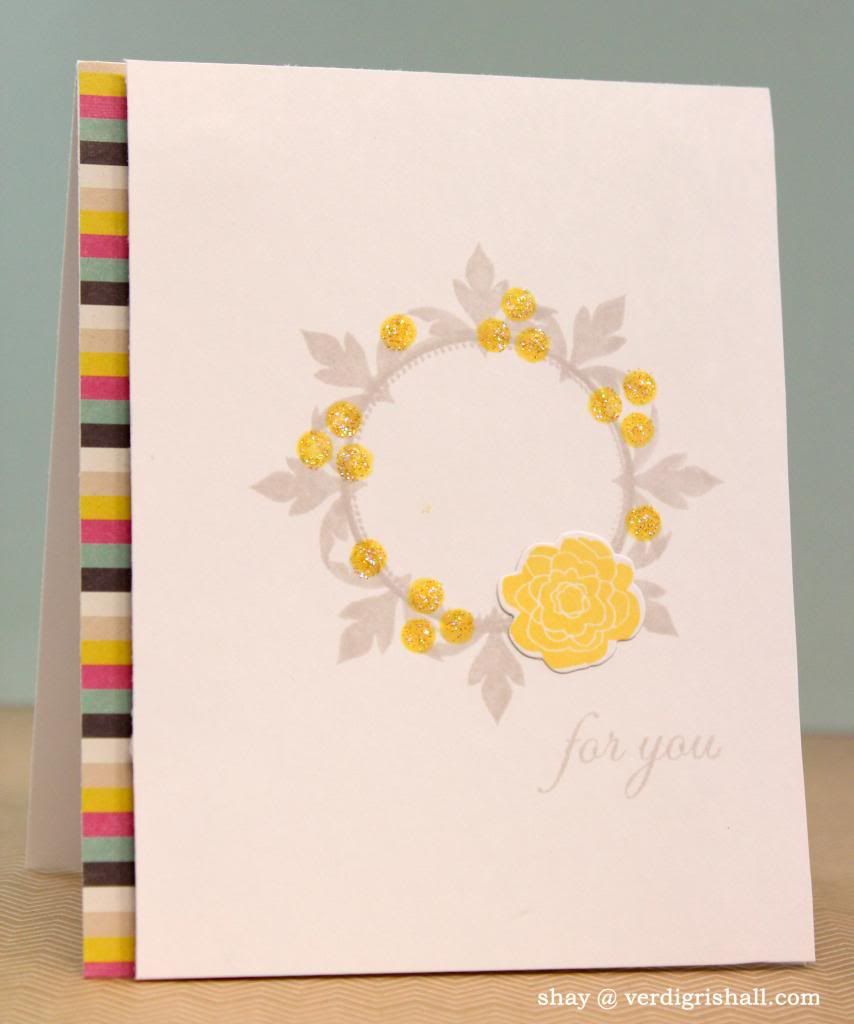
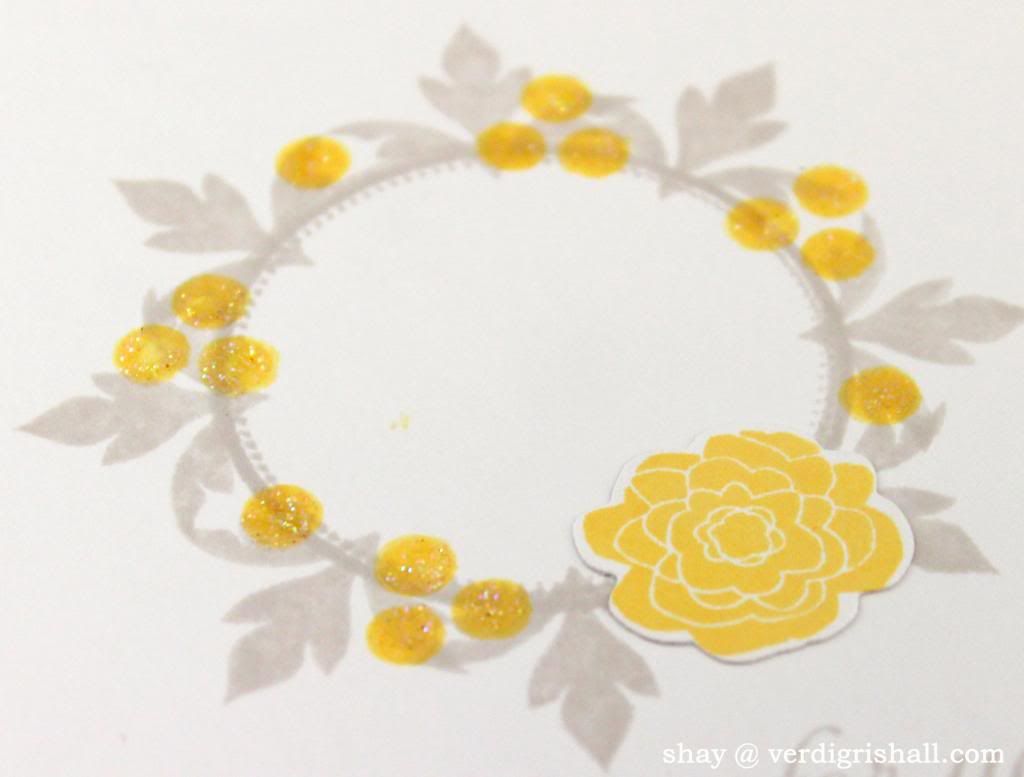
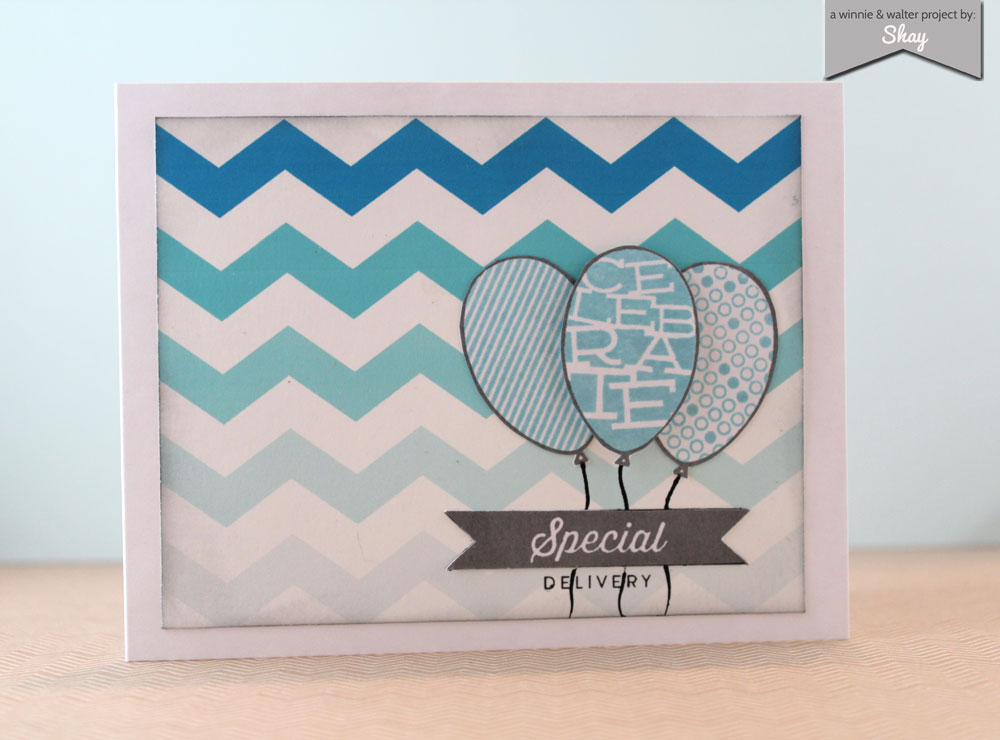
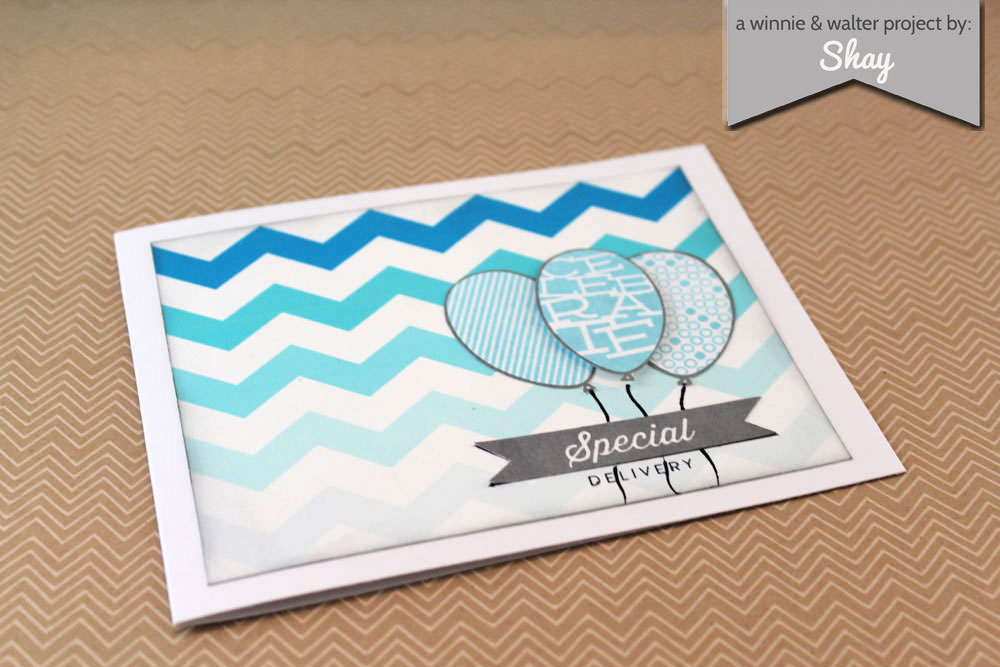
Finally I went with the ombre chevron (really love!) as a base for stamps from Studio Calico.

dgcv1e
dgcv1f

This is just a sampling of what can be done!

Make sure to check out the giveaway and like us on Facebook for your freebie!

Happy creating,
Shay.

Supplies:

Digital: The Daily Grind Collection Vol. 1: Elements; The Daily Grind Collection Vol. 1: Journaling Cards; The Daily Grind Collection Vol. 1: Papers and The Daily Grind Collection Vol. 1: Wood Grain Icons, Winnie & Walter
Stamps: Cuppa Card Kit, Lindsey Letters for Studio Calico; Marks & Co Card Kit, Studio Calico; August Stamp Add-On, Hello Forever for Studio Calico; Tweed Pattern (S5654), Hero Arts; Peppermint stamp add-on, Kal Barteski for Studio Calico; Coconut Grove kitStudio CalicoDouble Scoop Card Kit, Craft Origine for Studio Calico
Ink: brown sugar, malted milk and speckled egg, Jenni Bowlin for Ranger; Veramark and Memento in tuxedo black, Tsukineko; black soot, lipstick pink and dried marigold, Tim Holtz Distress Inks by Ranger; Charcoal mid-tone, Hero Arts
Cardstock: Presentation Paper, Epson (printed upon); white, Georgia-Pacific; recycled white pewter, Neenah Paper; brown woodgrain, Studio Calico
Patterned Paper: Cuppa Card Kit, Studio Calico; Magical 6x6 paper pad, Studio Calico
Other: Thataway pockets, Studio Calico, apricot seam binding, Martha Stewart Crafts; shipping tag, from stash; photo corner punch, EK Success; opaque white embossing powder, JudiKins; embossing heat gun; ric rac, from stash; Tiny Attacher, Tim Holtz; makers, Copic; ink blending tool, Ranger; dimensional foam adhesive.

October 4, 2013

Paper Wings Productions' October Design Team Blog Hop


WELCOME to Paper Wing Productions' October Design Team Blog Hop and Giveaway! If you've arrived here from Norma's blog, then you're in the right place.  If you’re just stopping by for a visit, please CLICK HERE to start from the beginning.

This month we’re having some wicked fun but don't be scarred because our creations will be a treat for your eyes!  Get comfy and prepare to shriek with delight!!  This month’s main prize is a gift certificate to the Paper Wings Production’s online store (you could pick up the new devilishly delightful Nesting Components Mixed Media Kit).


For a chance to win all you need to do is:
  • be a follower of the Paper Wings Productions' blog, The Aviary­
  • visit each of the participating designer's blogs and leave a comment
  • come back and leave us a comment telling us you completed the hop
To increase your chances of winning: like our Facebook page and/or invite your friends to the hop. Be sure to leave a separate comment for each of your additional entries.

The winner will be announced on Tuesday, October 8, 2013 on The Aviary­.

Ready to see what trick or treat I have in store for you?

You be the judge....


I chose to do a canvas panel again.  I love the flexibility and possibilities with one of these canvas panels plus they are a bargain when you buy them on sale at Michael's.  A bonus for stampers, the canvas panels are a firm surface that is easy to stamp upon.


I started by scribbling on some metallic blue, green and purple Gelatos directly onto the panel and then spread the color with a wet brush.  Next I added some triangles using the Stamper's Big Brush pen and a mask randomly on the panel.  In grey ink I stamped the little witch from Witchy Halloween or Witchy Greeting randomly over the panel and dabbed off any excess ink for a faded and subtle look.  Using a gold metallic pen and a star mask I added some stars which I also outlined with a black pen.  I added some messy sketching with a Sharpie in two corners.  I also stamped the owl border from Halloween is Here on the top of the canvas in grey and then navy inks.  Where I planned to put on a focal point I drew a box to create a shadow.


For my focal piece I began with one of my favorite ladies: Heather (to get Heather and all her friends pick up the Women Melange set) to create a witch.  I know, I know wicked witch is so cliché, but I honestly could not help myself!  I stamped Heather twice, once with navy ink and once with a light grey ink.  Using the navy inked image I colored in Heather's hair in dark blue (why shouldn't a witch have deep dark blue hair?  Just seemed right to me) and her dress.   On the light grey image I colored in Heather's skin and face making sure to make her more eerie and creepy by giving her outlined orange eyes.  I cut out Heather's face and neck from the navy image and placed the grey Heather under the navy one.  For a witch's hat I cut one out from cardstock, added a strip of green striped washi and painted it black to transform Heather into a proper witch.

I decided I wanted Wicked Witch Heather framed.  I traced a polaroid frame onto some green polka dot patterned paper, cut out and placed Heather inside using dimensional adhesive.  I backed Heather with some green damask patterned paper which I stamped with the cute little spider from Witchy Halloween or Halloween Friends in black ink.  To dress up the frame a little I added the little wicked (in case you were unsure of the wicked theme) from Witchy Halloween or Witchy Greeting, some patterned paper and sequins that I altered using a handy orange Copic (love my Copics!).

Under Heather I added a strip of patterned paper cut with a stars die with the negative space backed with gold washi.


I stamped the poem from Halloween is Here or Time Has Come onto white cardstock and then cut out each line and added them to the left of Heather.  Above the words I added a die cut star accented with a sequin.  Under the words is the witch square from Witchy Halloween or Witchy Greeting stamped in black ink and colored in with yellow and orange Copics.

 Here is one last look at the finished panel:


If you haven't fallen asleep from reading my essay long description of what I did, I thank you for your strength and fortitude!  You also deserve a treat and I have just the thing for you: head on over to Amber's blog!

***Here is the complete line up just in case you get lost along the way***


Thank you so very much for sweeping by today and have a wickedly awesome day!

Happy creating,
Shay.

Supplies:

Stamps:


Ink: tuxedo black, Memento by Tsukineko; navy and charcoal mid-tone, Hero Arts Shadow Ink; weather vane, Jenni Bowlin for Ranger
Canvas: 6x8 canvas panel, Artist's Loft
Cardstock: white, Georgia-Pacific
Patterned Paper: "Oxford Lane" from kate & co. Collection 6x6 paper pad; Fly a Kite "Wish" Ribbon from Lime Twist Collection and Sweet Surprise from the Ooh La La Collection; My Mind's Eye
Die: Star Gazer Die Collection, Papertrey Ink
Other: Cuttlebug, Provo Craft; metallic grape, metallic blueberry and metallic mint Gelatos, Faber-Castell; cobalt blue PITT artist big brush pen, Faber-Castell; star pattern and triangles pattern Huey's Masks, Studio Calico; Pale Fruit Pink (E000), Pink Flamingo (E01), Lightening Yellow (Y18), Pumpkin Yellow (YR15), Agate (B99), Cool Gray No. 7 (C7) and clear (000) Spica,  Copic; black precision pen (05), American Crafts; white Signo, Uni-Ball; gold leafing pen, Elmer's; fine point permanent marker, Sharpie; foam dimensional adhesive; gold and green stripe washi; black acrylic paint, Delta Ceramcoat; small pearlized sequins, Inspire Lovely; coral sequins, Studio Calico; mini glue dots; Tiny Attacher, Tim Holtz

September 25, 2013

Papertrey Ink September 2013 Blog Hop Challenge | Wreaths

 
Hello there fellow Papertrey Ink friends.  I am thrilled to be able to once again participate in this month's blog hop after a month away.  I was so excited I even dreamed about making a card for the hop! 
 
This month's theme is:


For more information or to see the other amazing projects go to Nichole Heady's blog HERE.
 
Here's my wreath project: 
 
 
After some crash and burns failed attempts at wreath-making I finally came up with a super simple design using a frame from Mat Stack 2 Collection stamp set which I stamped 4 times.  I then added some dots from the Daydreamer stamp set and a flower from Mini Blooms that I stamped upon its matching die.  The sentiment is also from Mat Stack 2 Collection.  I added some Stickles to each of the circled...needed a little glitter, don't you think?  Last is the strip of patterned paper which has all three of the main colors added under the panel with adhered with foam adhesive.


There you have it.  Thank you so very much for visiting my blog.  It was an honor to be among all you crazy talented stampers!
 
Happy creating,
Shay.
 
Supplies:
Stamps: mat stack 2 collection, daydreamer and mini blooms, Papertrey Ink
Ink: soft stone, raspberry fizz, aqua mist and harvest gold, Papertrey Ink
Cardstock: stamper's select white, Papertrey Ink
Patterned Paper: kate & co Cambridge Court 6x6 paper pad, My Mind's Eye
Dies: mini blooms die collection, Papertrey Ink 
Other: Cuttlebug, Provo Craft; star dust Stickles, Ranger; foam adhesive

September 13, 2013

Coupon Code for Stamping Goodness!

Hello there friends.  Call this a public service announcement or enabler alert, but I have for you an awesome coupon code (scroll down to near the bottom of this post for the code) that will get you 25% off of your order till the end of the month from Paper Wings Productions.  They have even just had a brand new release featuring some fairies and stellar background stamps.

I thought I would round up a few recommendations for you (some for the autumn season and some can be used any time, all the time) to help with your shopping experience (aren't I sweet?):


Fairies Clear Stamp Set (love the gnome!)


There are so many other awesome products so head over to Paper Wings Productions and find your favorites and use the code for 25% off your entire purchase until the end of the month!

What is the code you ask?  PWP*FAN7 

How do I use the code?  At checkout click the Add Coupon button.  Type in  PWP*FAN7 and press submit.

Should you need some inspiration or to see these products in action go on over to The Aviary.

Happy creating,
Shay.

LinkWithin

Related Posts with Thumbnails