Showing posts with label Central High Card Kit. Show all posts

June 19, 2013

Man Oh Man Monday No. 15 | Birthday Card with Layers

Hello there!  Man Oh Man Monday comes to you a smidgen late this week...only 2 days.  Geez.  I won't go into detail, but we lost one of our beloved dogs.  Now that I am able to see through the trail of tears and have stopped wailing (slight exaggeration for dramatic effect), I wanted to share a birthday card I made back in the fall of last year for an uncle of mine.


Don't ask me too many questions on what I did and what I used because I am sort of fuzzy on both.  I do know I was going through a phase of using layers of die cuts and patterns.  The journaling cards are from Studio Calico as is most of the stamps.  I think the die cuts come from My Mind's Eye and possibly Studio Calico too.


The inside (I can't recall where the happy stamp comes from):


Note to self: when using a strip with stars actually use a strip with full stars.

That's it from me for the moment.  Enjoy your day!

Happy creating,
Shay.

Supplies:
Stamps: celebrate from Twisty Slide Add-On Kit and chevron arrow from Couple's Skate Add-On KitStudio Calico; date roller stamp, American Crafts; birthday wishes from Central High Card Kit, Lawn Fawn for Studio Calico
Ink: brushed corduroy and spiced marmalade, Tim Holtz Distress Ink by Ranger
Cardstock: white, Georgia Pacific 
Patterned Paper: No Limits 6x6 paper pad, Heidi Swapp
Other: die cuts, My Mind's Eye and Studio Calico; tiny attacher, Tim Holtz; Inkssentials ink blending tool, Ranger; Crop-A-Dile Corner Chomper, We R Memory Keepers

March 25, 2013

Man Oh Man Monday No. 3


Happy, happy Monday!  I have a couple of cards to share with you today using a busy craft girl's best friend: kits.  I used Studio Calico's Central High Card Kit, their first card kit from back in September of 2012 along with some letter stickers from the Central High Scrapbook Kit.  The only other item I added from my stash was a birthday die I recently got from Papertrey Ink that I was dying to try out. 

I have found that Studio Calico creates kits that are great for creating cards for any gender and the Central High Card Kit was a perfect example.   They always include an exclusive 6x6 paper pad of patterned paper that is in a word, awesome.  No, sadly I was not paid by Studio Calico to give this endorsement...weirdly I just promote products I pay for and love.  For even more ease I didn't ink up anything.  Yes, that's right no stamps for these suckers.

I would rate these cards as Easy Going.

Card No. 1

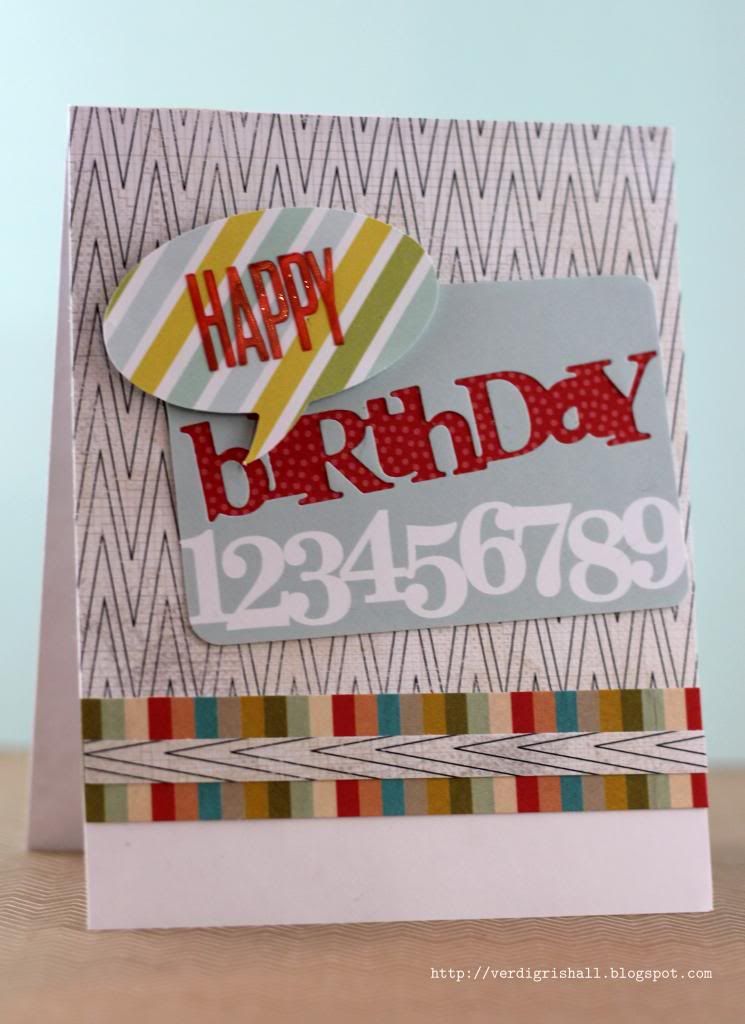
From the number file folder die cut found in the kit I die cut the birthday from it.  I then backed the die cut with the red patterned paper.  I made sure to add back some of the insides of the letters.  To cover up a change of mind with some of the letter stickers that caused some paper tearing (I hate when that happens!), I added the speech bubble die cut and placed the letters on that.  I adhered it to the file folder die cut with dimensional adhesive.  This was all adhered to a white cardstock base covered with some of the chevron papers and striped patterned paper. 


Card No. 2


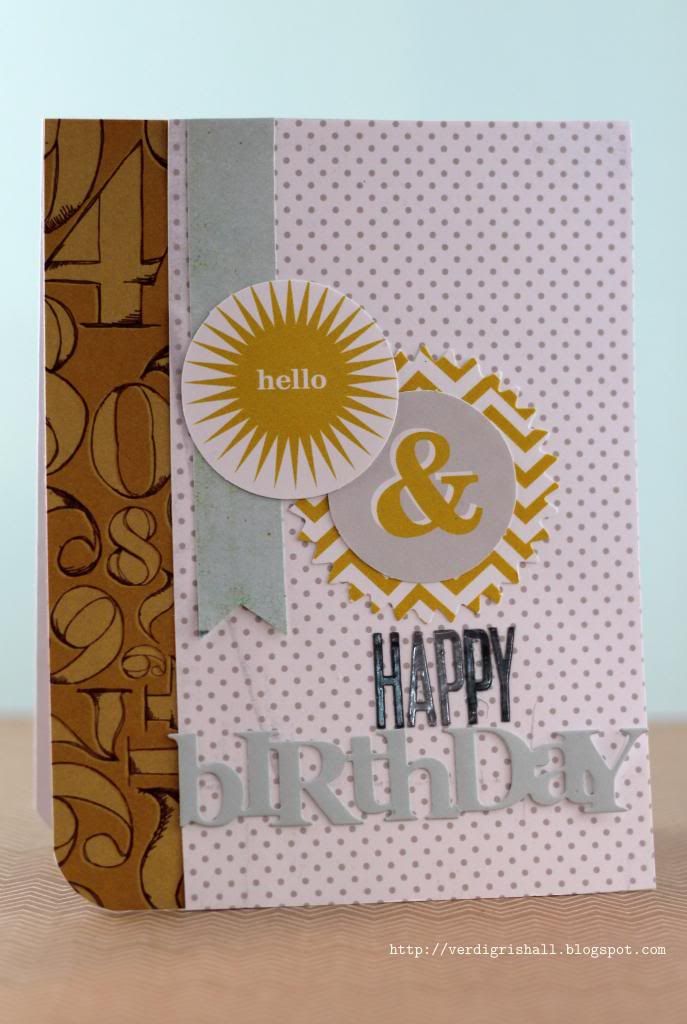
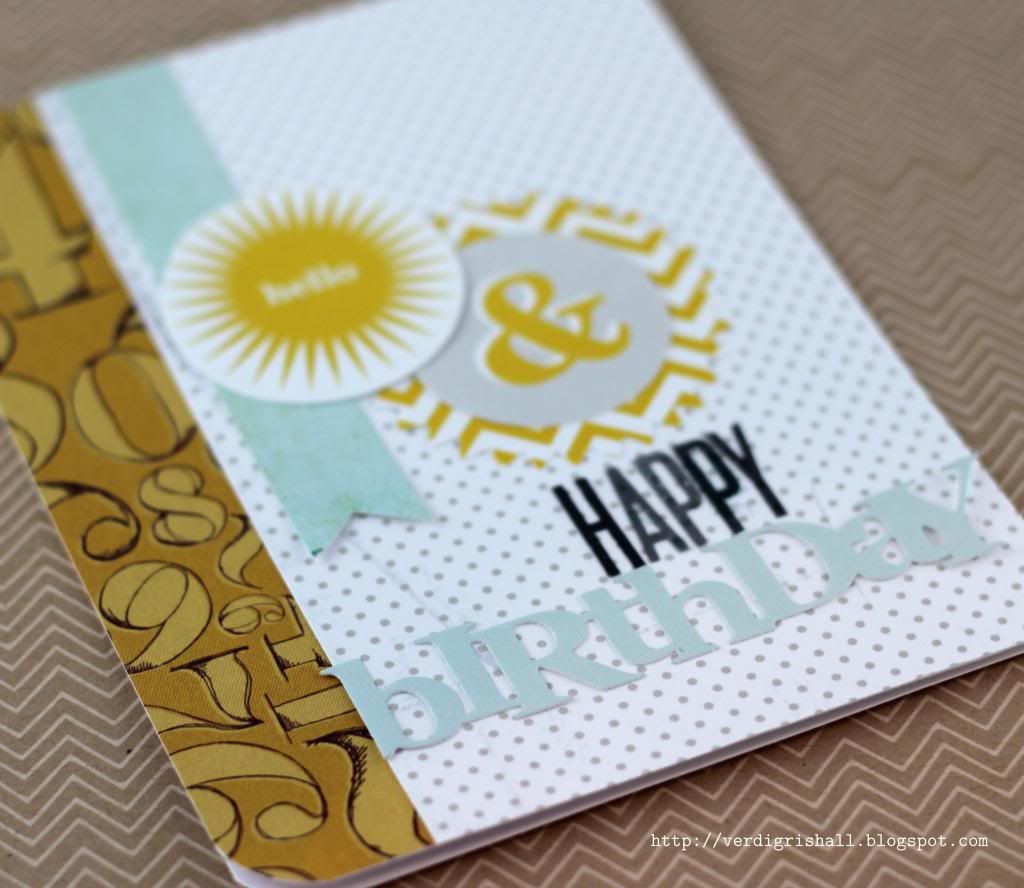
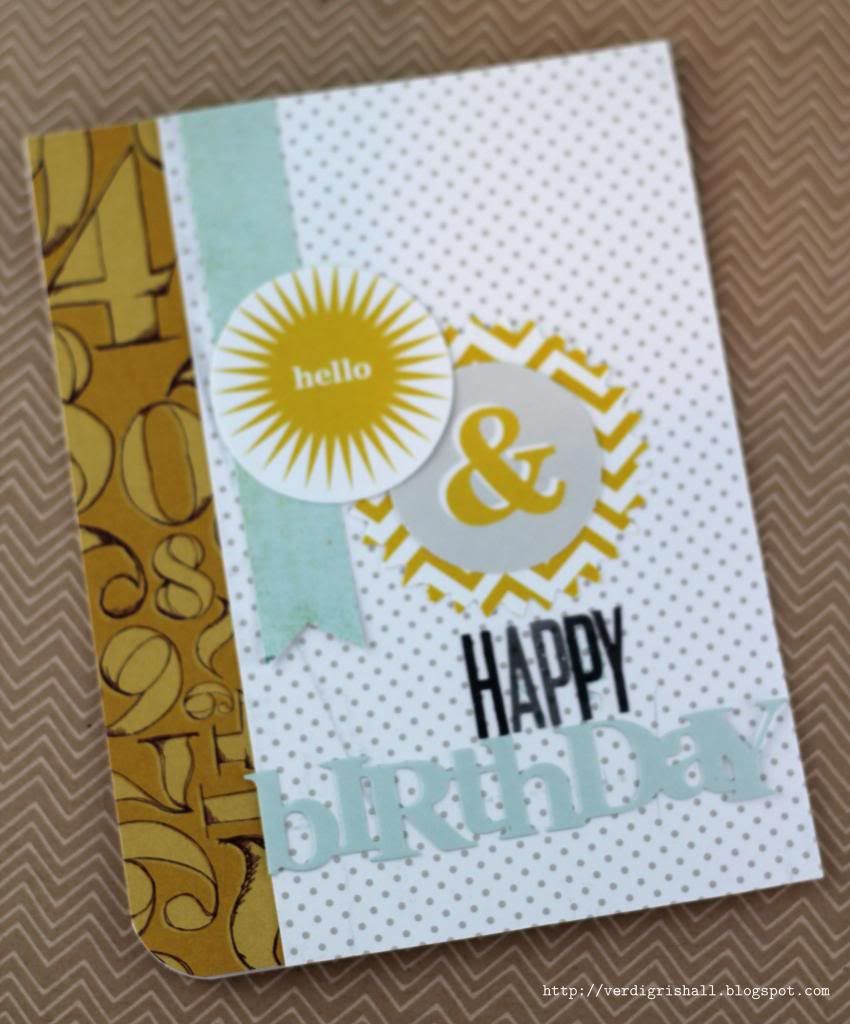
I had the positive birthday die from the previous card I wished to use.  I loved the yellows featured on a lot of the die cuts included in the card kit.  I decided to use the yellow with the soft morning sky blue and also include some grey (grey is always good, right?).  I cut out a banner strip from a patterned paper with the same color as the birthday die and adhered it to the grey dot paper that I adhered to a white card base along with the mustard number paper (big love and perfect for birthdays).  Then I added a few layers of the die cuts.  I added the letter stickers (the ones I peeled off the previous card) to spell out happy and then adhered the birthday die.  Last I rounded the left bottom corner.


MOMM Tips:
MOMM Tip No. 1: Use kits.  There are some really incredible card kits out there along with scrapbook kits that take the guess work out of choosing products that coordinate and include the latest and greatest products.  Along with Studio Calico I really like Simon Says Stamp's monthly card kit
MOMM Tip No 2: Keep it clean.  You don't have to pull out your inks every time to create a card.  It is okay to give your stamp collection a little breather.  They really won't revolt and come at you when you sleep.

I hope this has inspired you to make some easy and fun manly cards.

Happy creating,
Shay.

P.S. You will find my Papertrey Ink March 2013 Blog Hop today as well.

Supplies:

Kits: Central High Card Kit and Central High Scrapbook Kit, Studio Calico
Other: Wonderful Words: Birthday die, Papertrey Ink; Cuttlebug, Provo Craft; dimensional adhesive; Crop-A-Dile Corner Chomper, We R Memory Keepers

December 7, 2012

A Hexagon Birthday Card

Dear Reader,

How about I share a card for a teenaged boy today?

Why not, you say.

Whew!  What a relief because that is what I have for you.


If you follow my blog you may notice some similarities with many of my recent cards:

1. White cardbase. Check
2. Patterned Paper. Check, Check, Check, Check and Check
3. Labels. Check
4. Stickers. Check and Check
5. Date stamp. Check, Check, Check, Check, Check and Check.

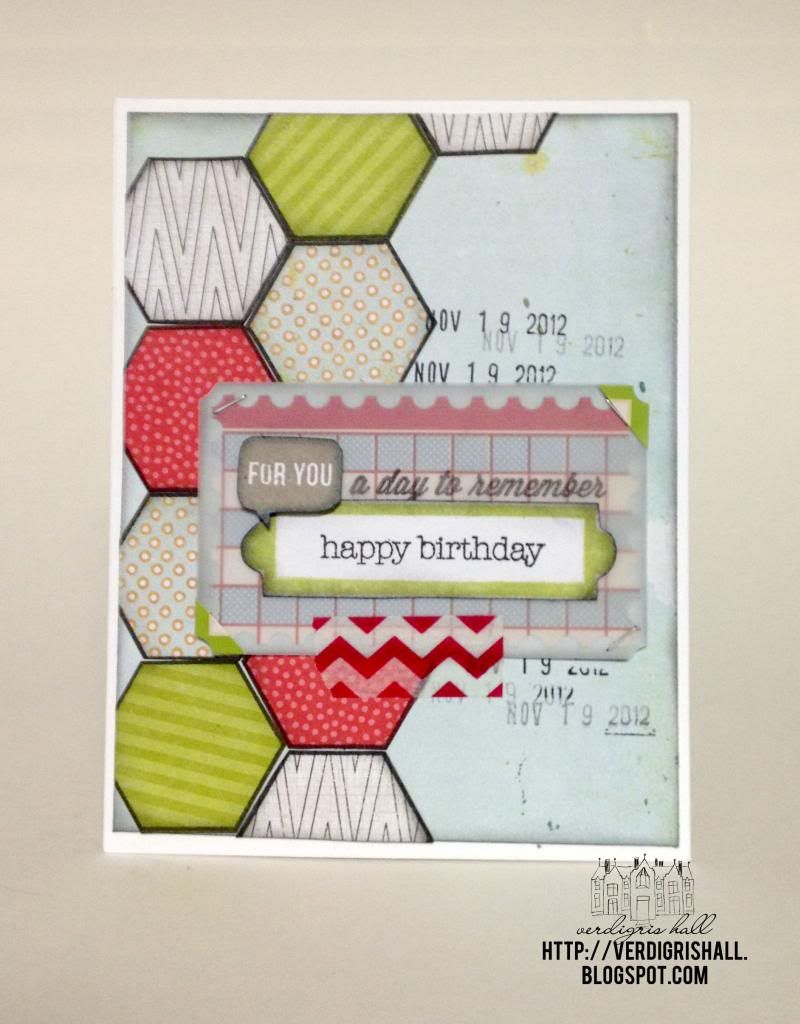
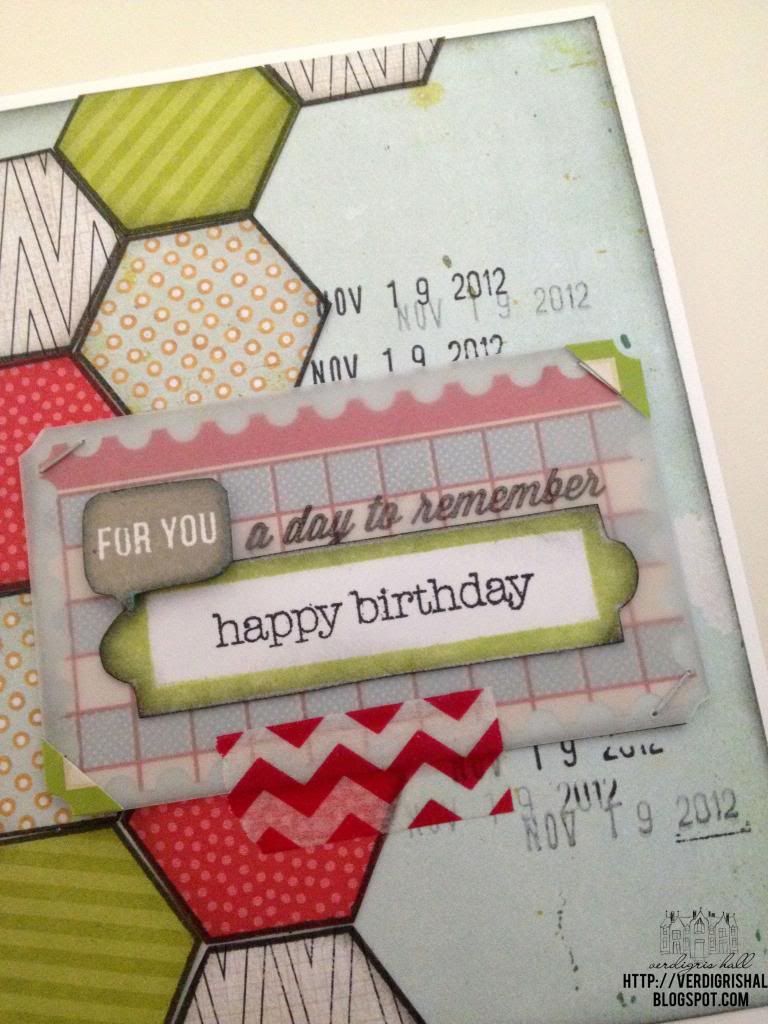
Hexagons may be a thing of the past (I know many are way, way over them), but I still like (okay, more than like) them and I thought they would be a good shape to use for a guy.  I simply stamped a hexagon outline stamp from Studio Calico's 35mm Kit (from May 2012) several times on patterned paper and cut out and pieced them together on the card front in a pattern I liked.  All of the patterned paper came from the Central High Card Kit by Studio Calico (from September 2012).

All of the stamps are also from Studio Calico with the exception of the happy birthday which is from Papertrey Ink.

Another element added to this card was vellum to soften the bold pattern and color of the sticker label from State Fair, an older collection by Studio Calico.

Closer view:


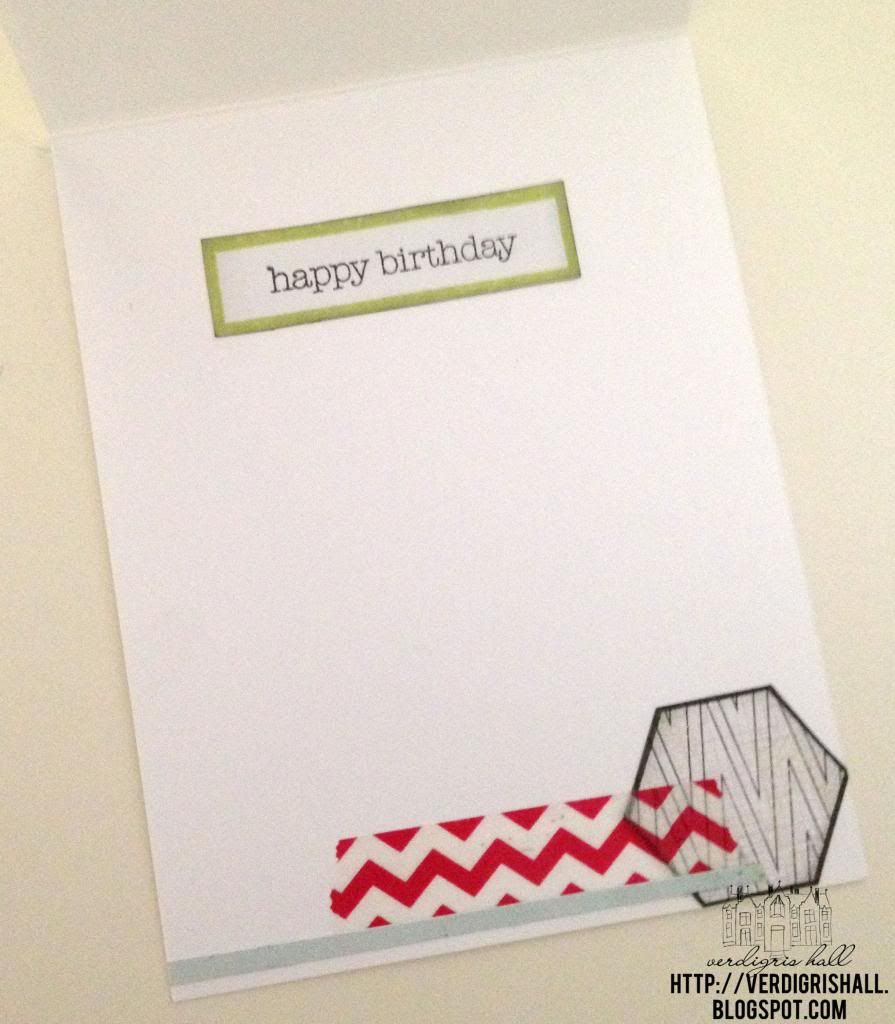
Inside (same green label stamp from the front of the card simply cut into a rectangle):


What do you think?  Okay even with all those hexagons?  Hopefully the teenager thought so.

Thank you so very much for taking the time to visit.  I hope you have a brilliant weekend!

Happy creating,
Shay.

Supplies:

Hexagon Birthday Card
stamps: hexagon from 35mm kit, Studio Calico; for you stamp from Venice Beach add-on kit, Studio Calico; label (green label which happy birthday is stamped upon) from School Life stamp set, Studio Calico; a day to remember stamp from Awesome stamp set, Studio Calico; date stamp from Story Hour kit (March 2012), Studio Calico; happy birthday from In and Out: Birthday stamp set, Papertrey Ink
ink: tuxedo black, Memento by Tsukineko; stick candy and weather vane, Jenni Bowlin for Ranger; black soot, Tim Holtz Distress Ink by Ranger
cardstock: white, Georgia-Pacific
Patterned Paper: 6x6 paper pad from Central High Card Kit (September 2012), Studio Calico
other: vellum; washi tape; Tiny Attacher by Tim Holtz; State Fair cardstock stickers, Studio Calico
LinkWithin

Related Posts with Thumbnails